
After we got married in February, Bei Bei and I honeymooned at the Cascabel Conservation Association's Cottage Hermitage, a sublime solitary retreat nestled in Hot Springs Canyon east of Tucson, AZ. We actually made plans before we got married to do the week-long retreat together in Cascabel! Only after getting engaged three weeks before our wedding did we realize that the retreat would be the perfect honeymoon.
Immediately following our honeymoon-retreat week, we were blessed to join in Saguaro Juniper's 3rd annual Home On the Range event. We enjoyed a morning work-party, Papa Cobre patties, and fulfilling conversation with old and new friends.
David Omick and Pearl Mast, whose creatively minimal lifestyle inspires us greatly, patiently fielded countless questions about their brilliant barrel composting design. David, who only a few days prior underwent knee surgery, hopped up to eagerly show us some of the composting toilets they built and installed for private and community use around Cascabel.
The 55-gallon drum composting toilet is safe (even approved by the ADEQ), easy to put together, and comfortable to use. What's more, David and Pearl's designs are available for anyone to study for free on their website!
This blog post summarizes some thoughts I had while building a composting toilet based on these designs. Thank you, David and Pearl, for sharing your wisdom! Thank you, Dad, for carpentry guidance! Thank you, Bei Bei, for diligent quality assurance testing!
The Throne
David and Pearl's original design recommends burying the barrels halfway so that the business-doer can comfortably sit without having to climb up stairs. However we wanted to install our toilet on the front porch, which already has a wood floor. This meant that we needed to build some steps to get up to the toilet:
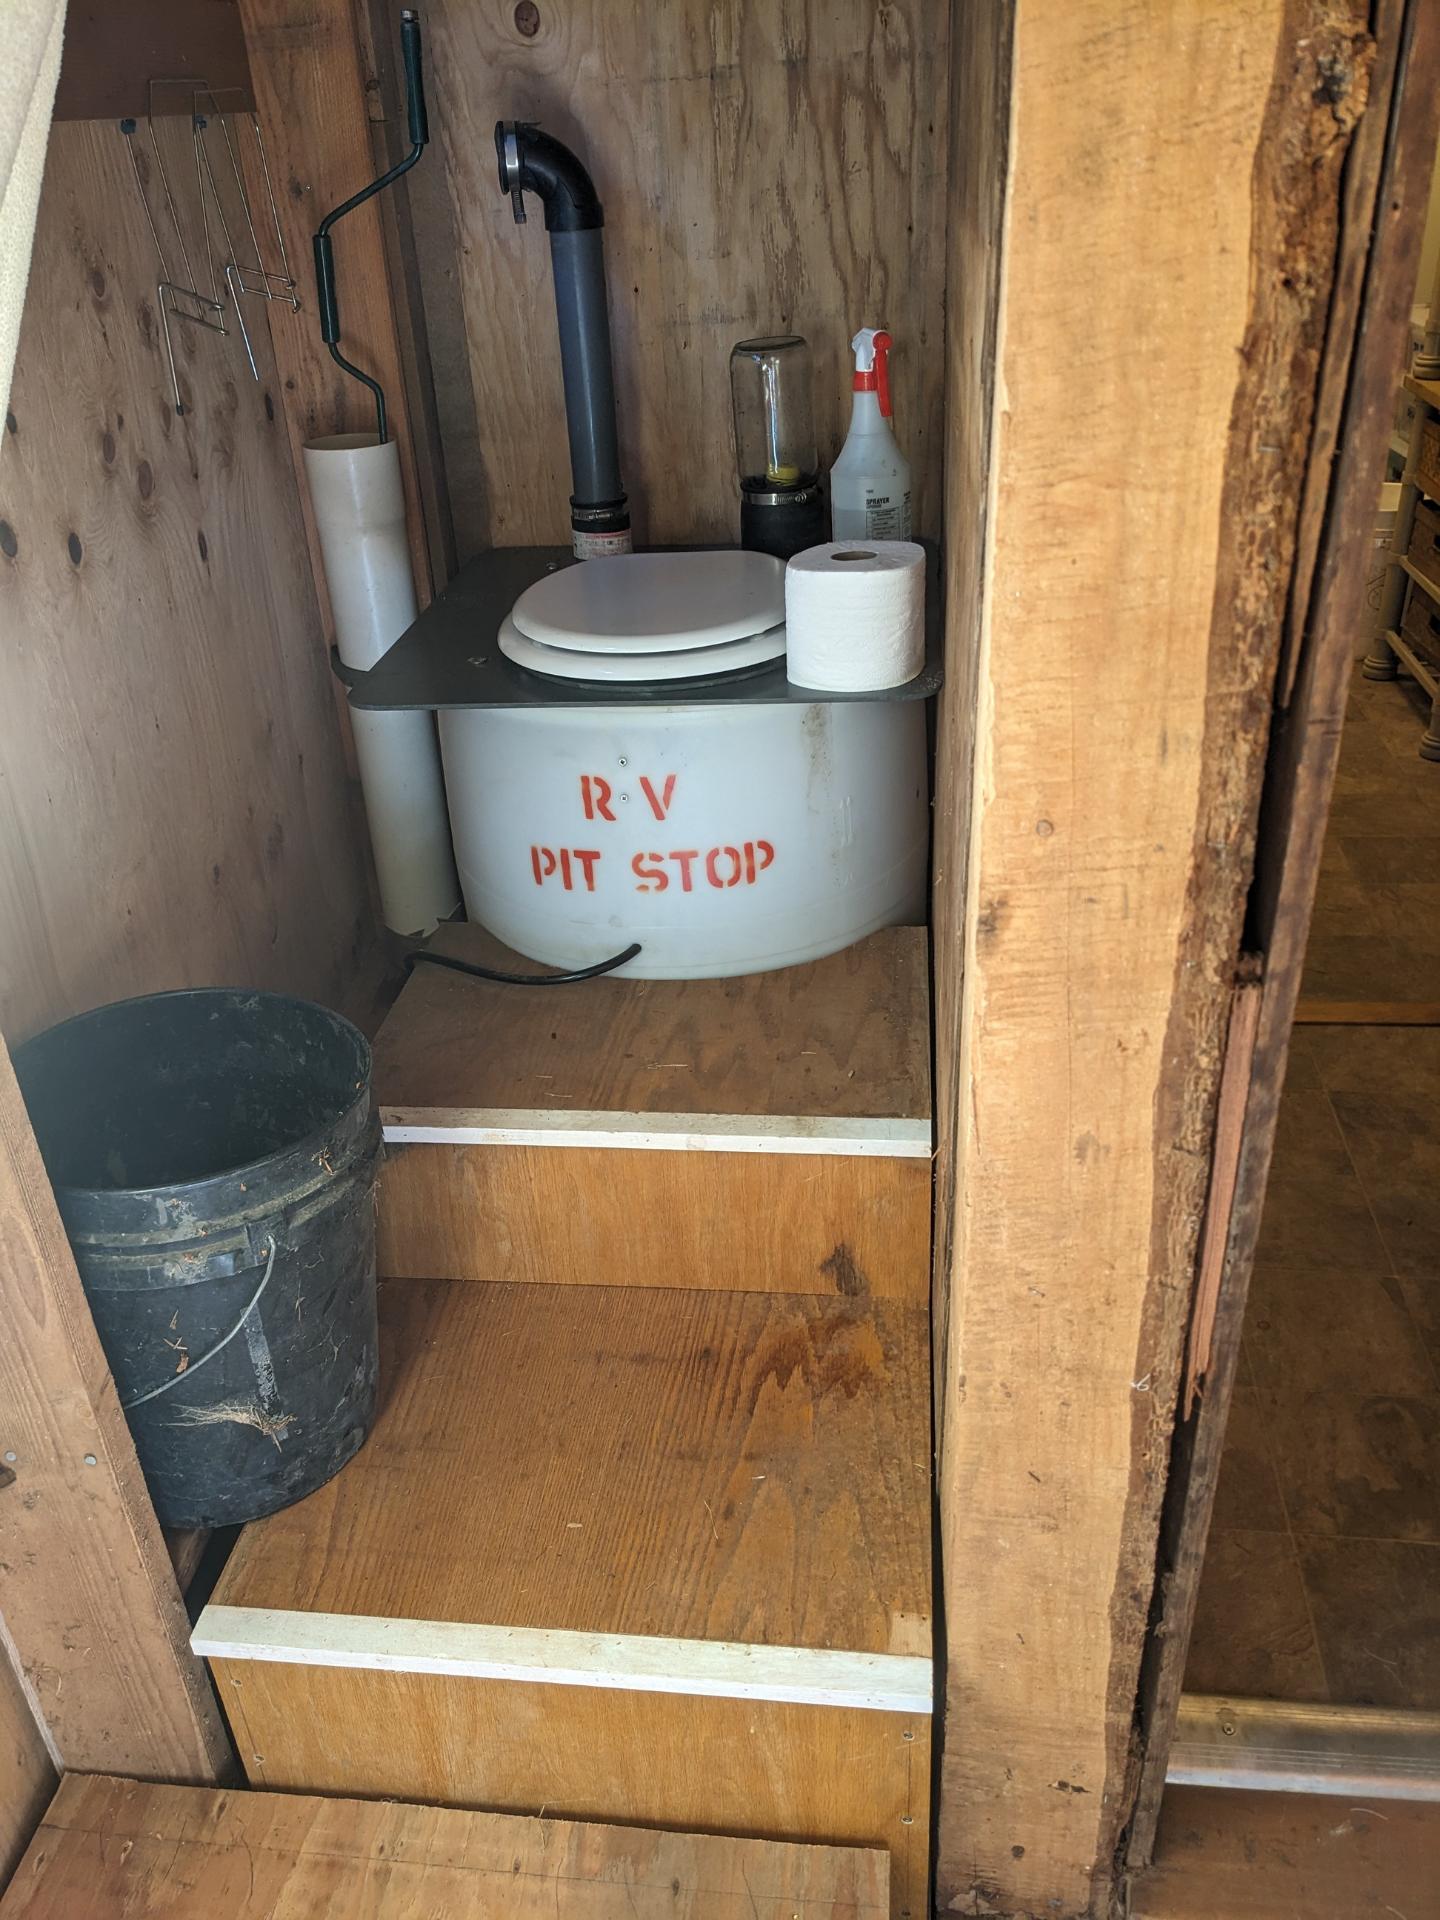
The main disadvantage to this approach is that it requires moving the steps and the barrel after it's full, but with two people and a large hand truck, it's no problem to replace the full barrel every few months. Alternatively, David's website suggests placing a plant dolly underneath the barrel for easy transportation indoors.
Toilet top
Instead of making the toilet top out of epoxy-coated wood, aluminum, or concrete, we found a piece of 5/16" grey plastic material at the scrapyard and cut out the toilet top and insect plate with a jigsaw. It resists weathering and can be cleaned easily.
We did not add a hold-down spring assembly, but instead relied on the snug fit between the locator bolts (we used 3/8" bolts, less prone to bending than the 1/4" bolts in the original design) and the holes drilled around the lip of the barrel.
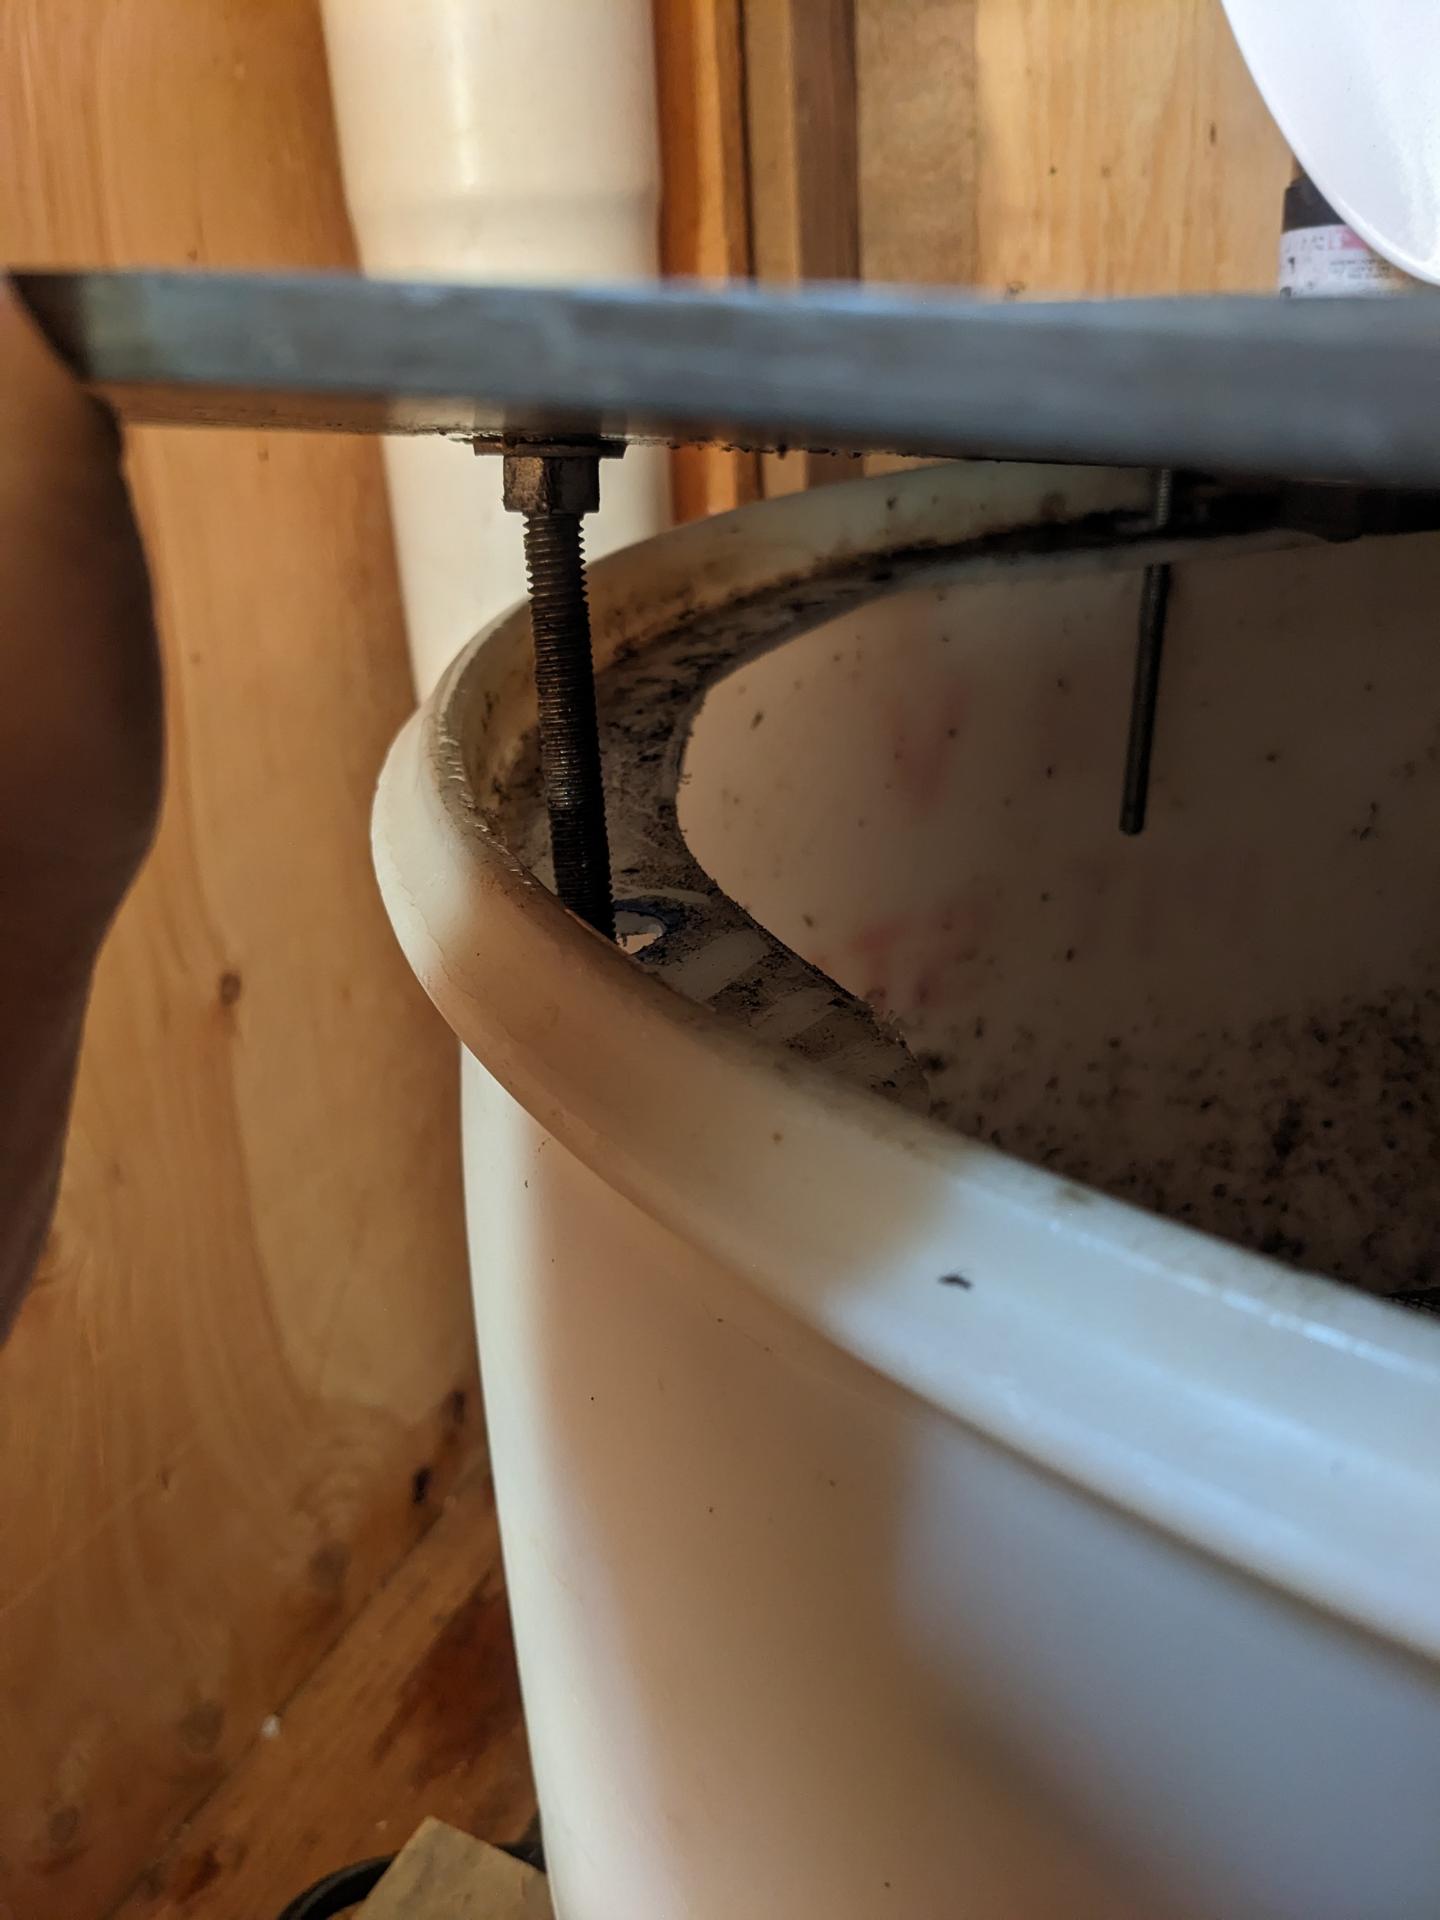
Urine diverter
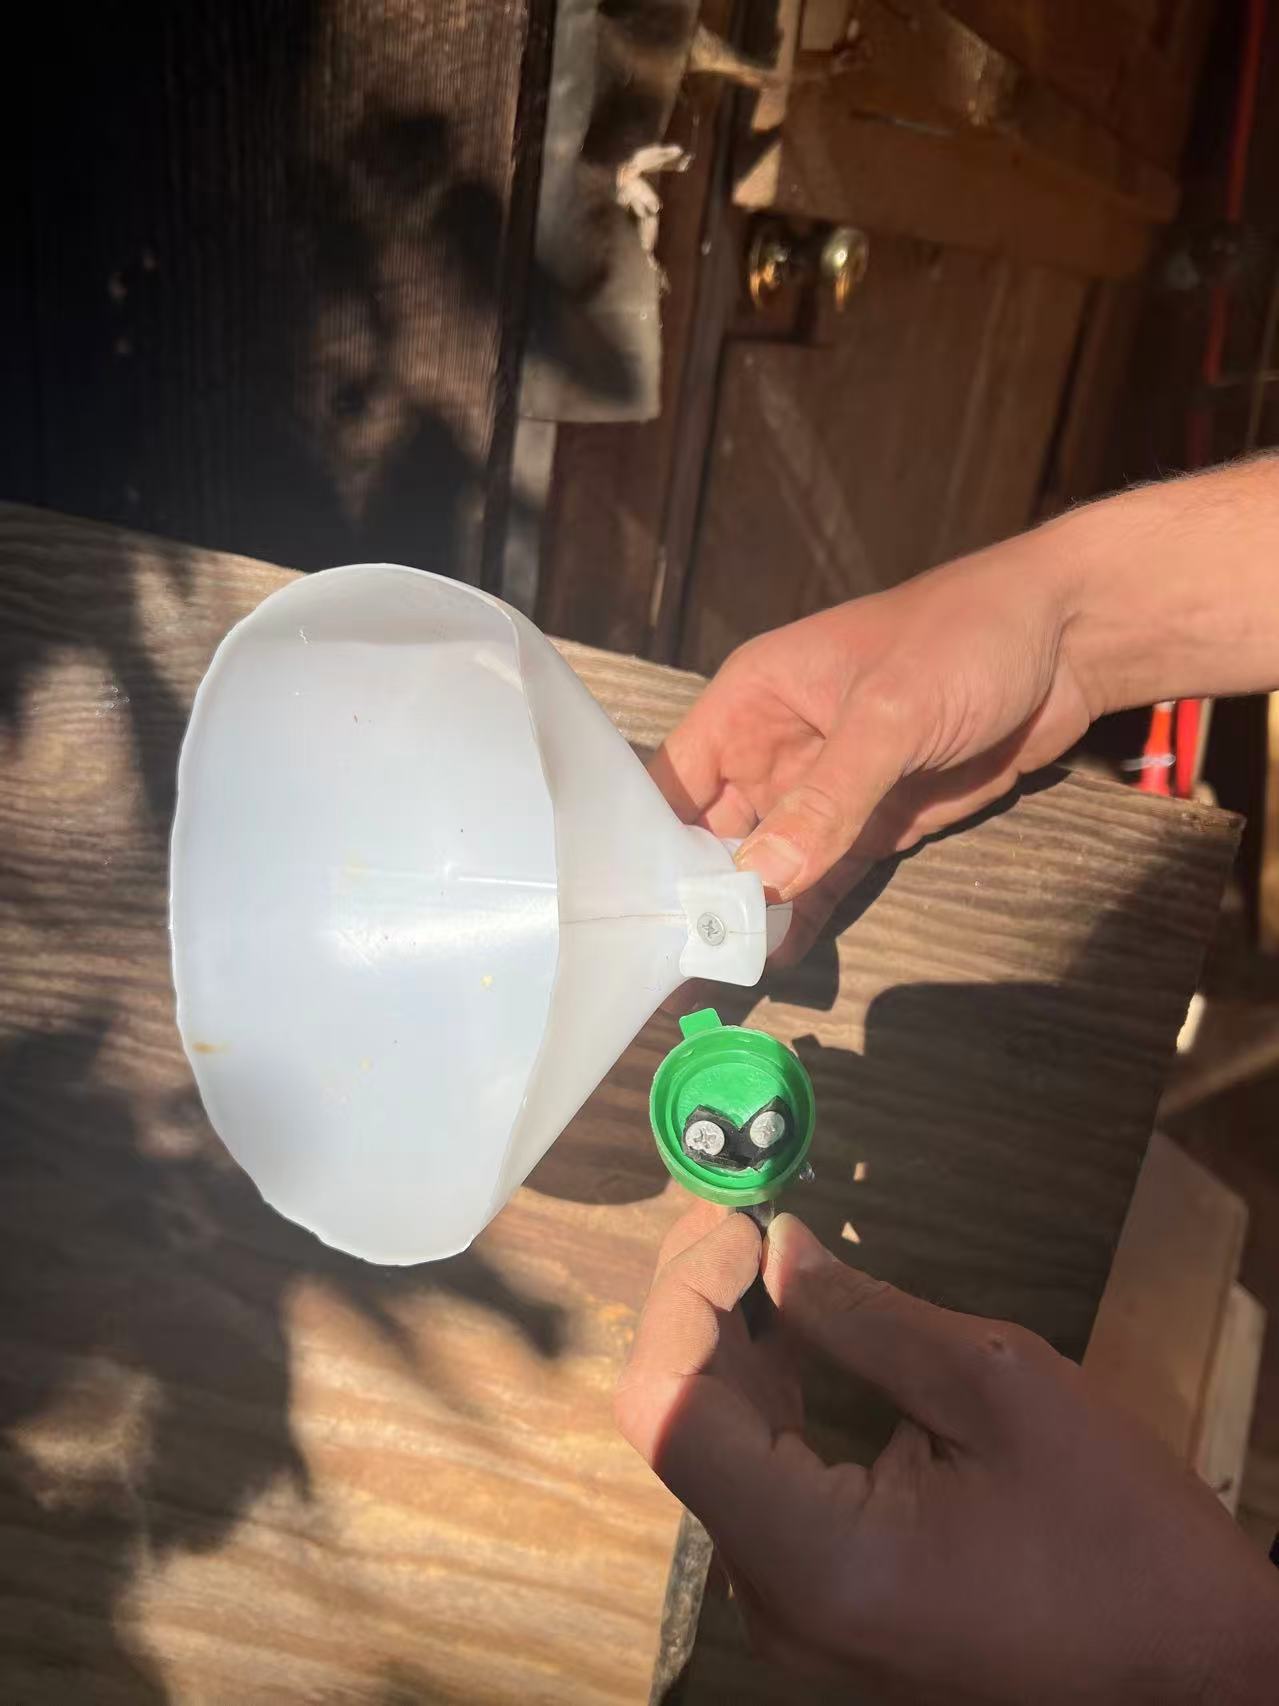
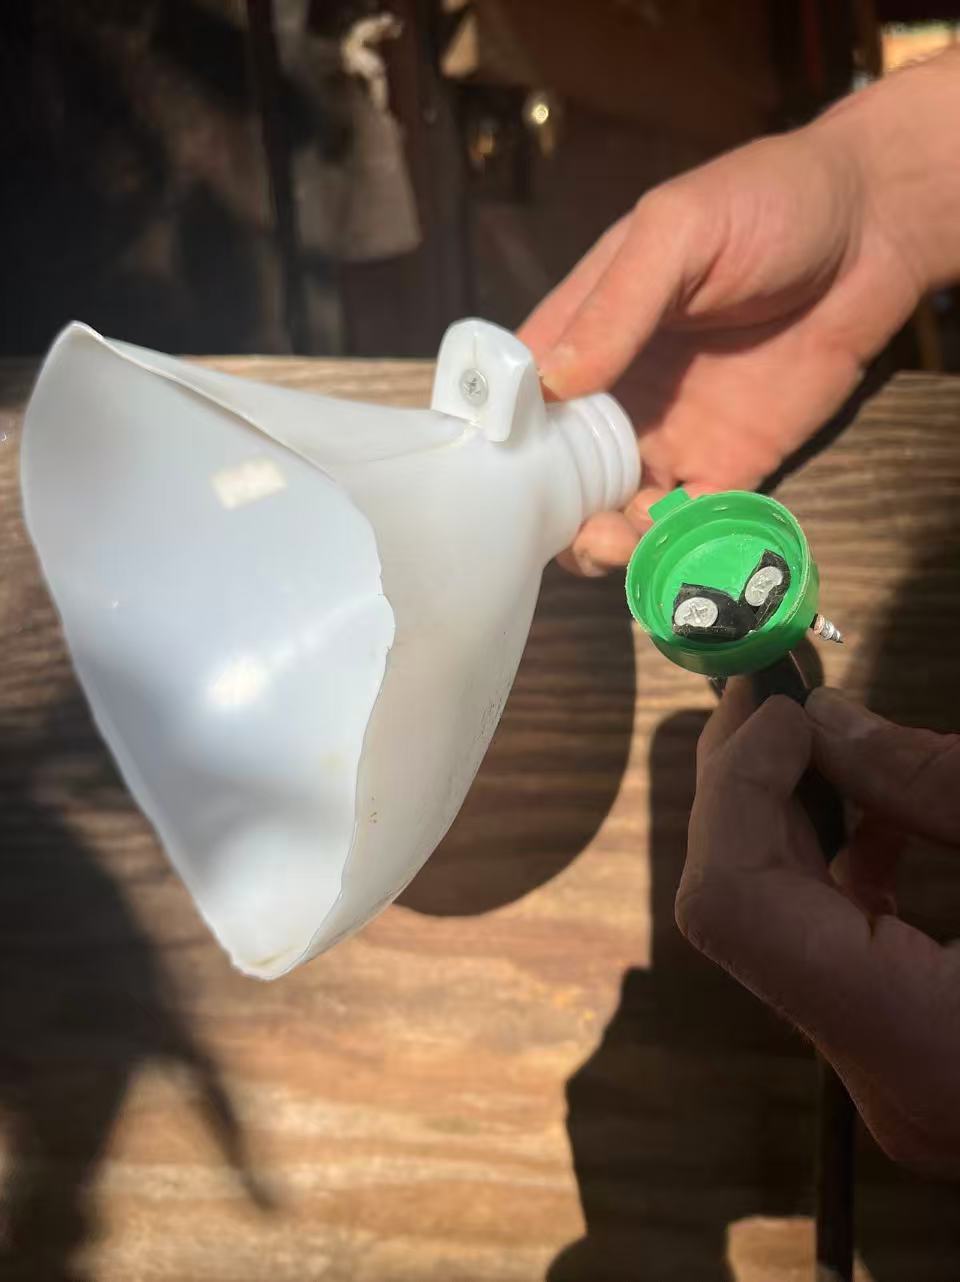
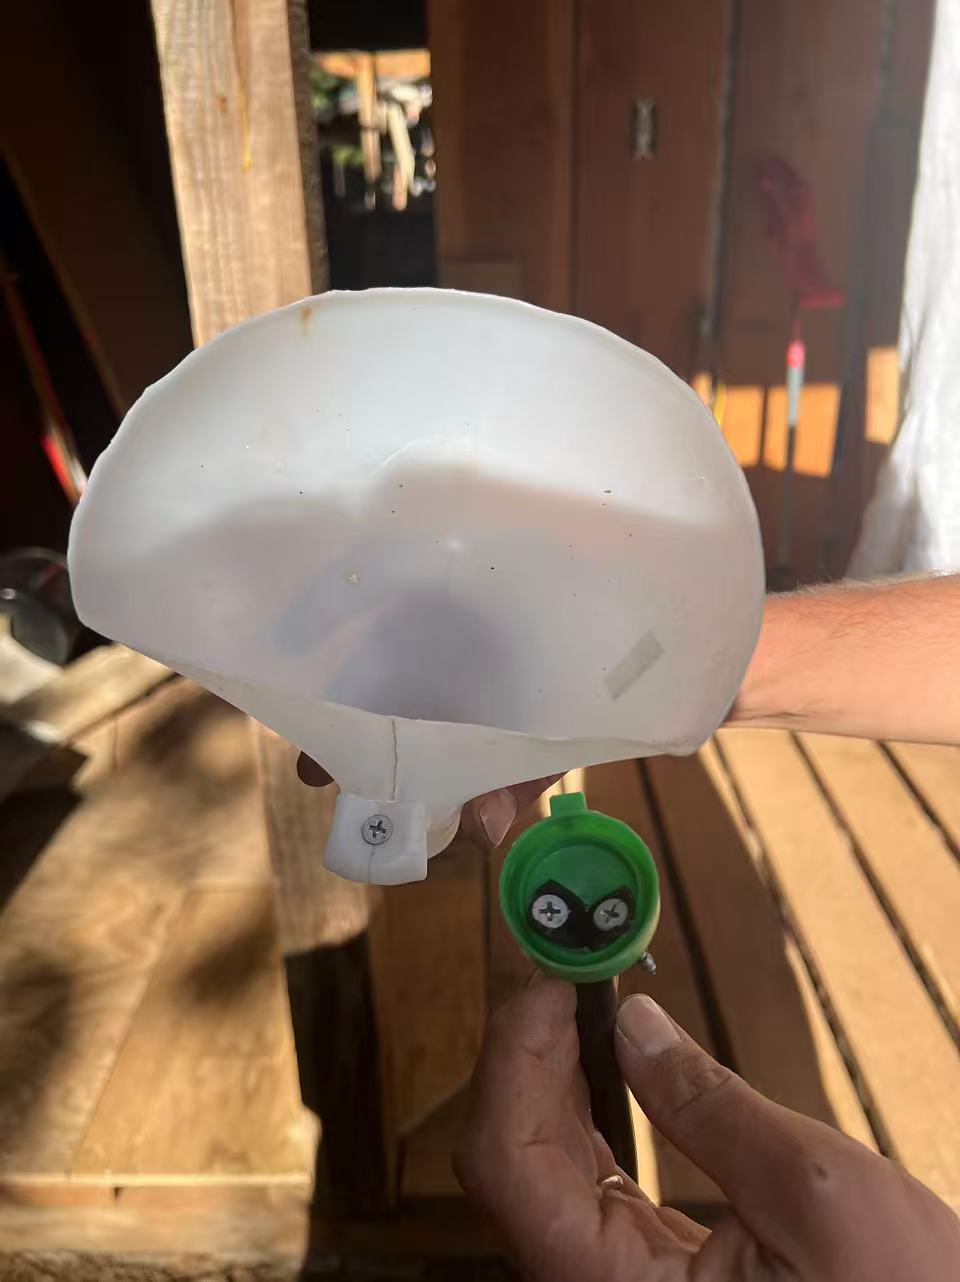
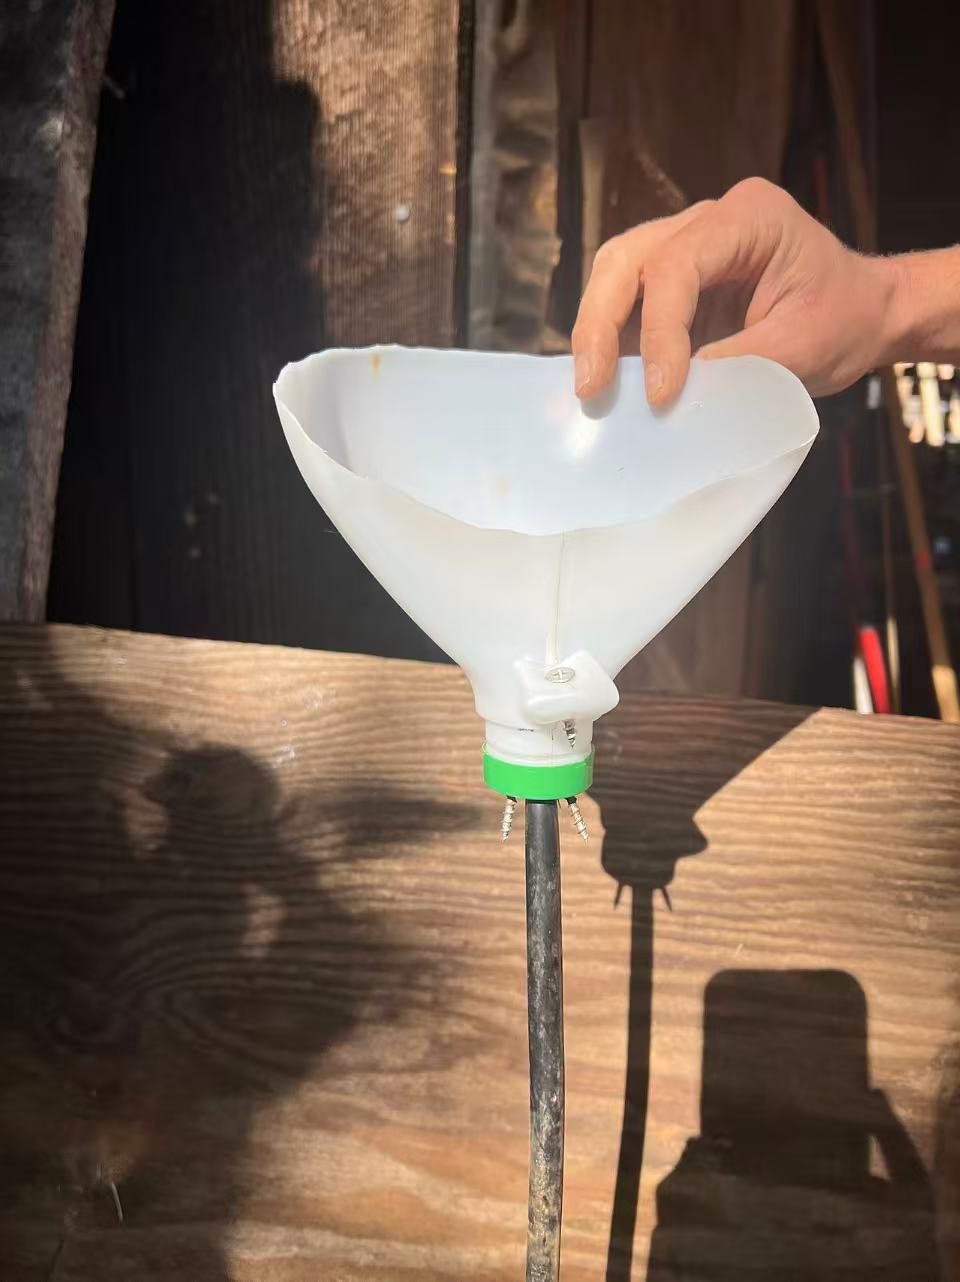
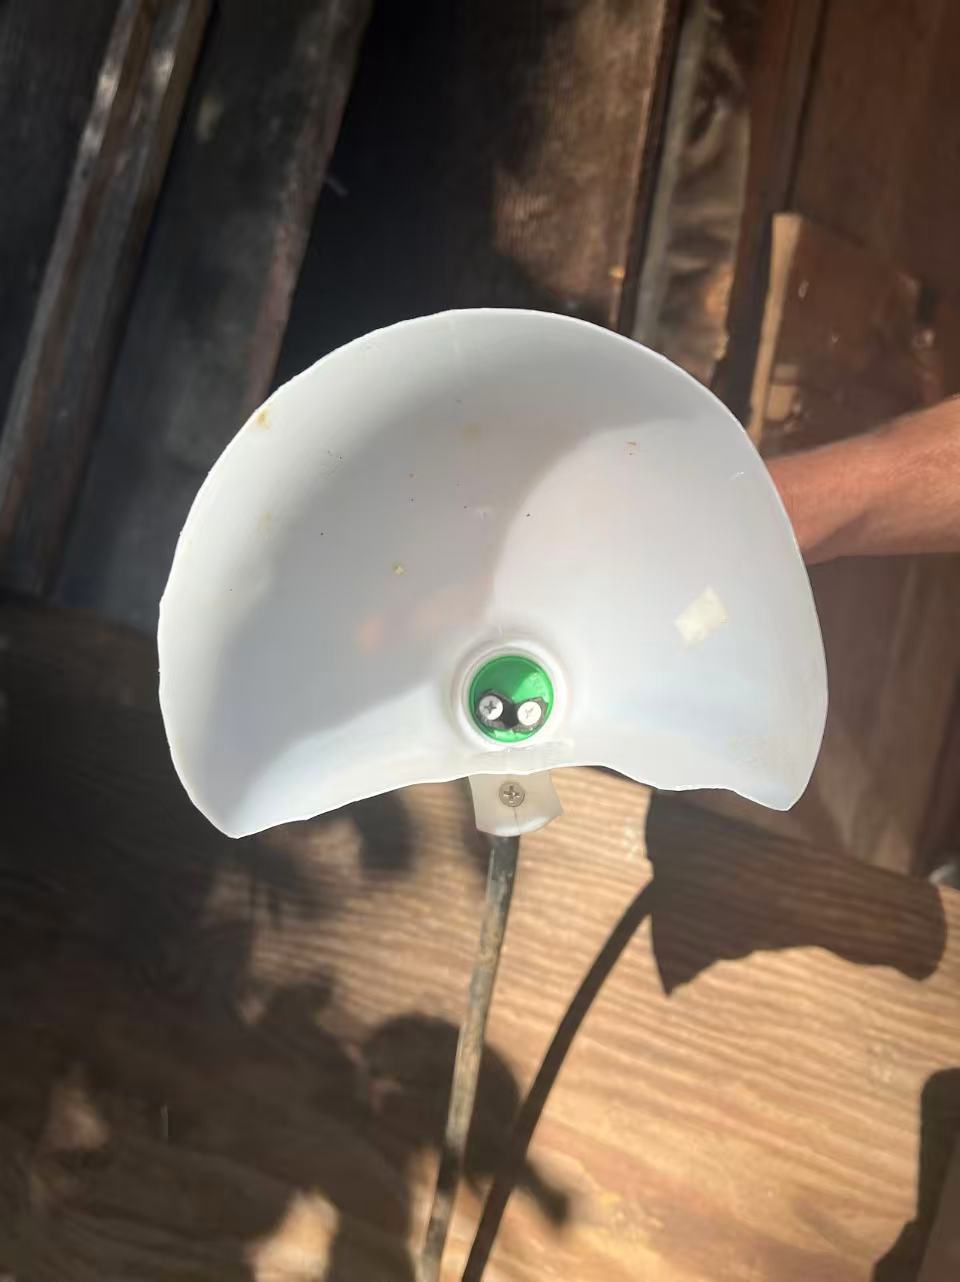
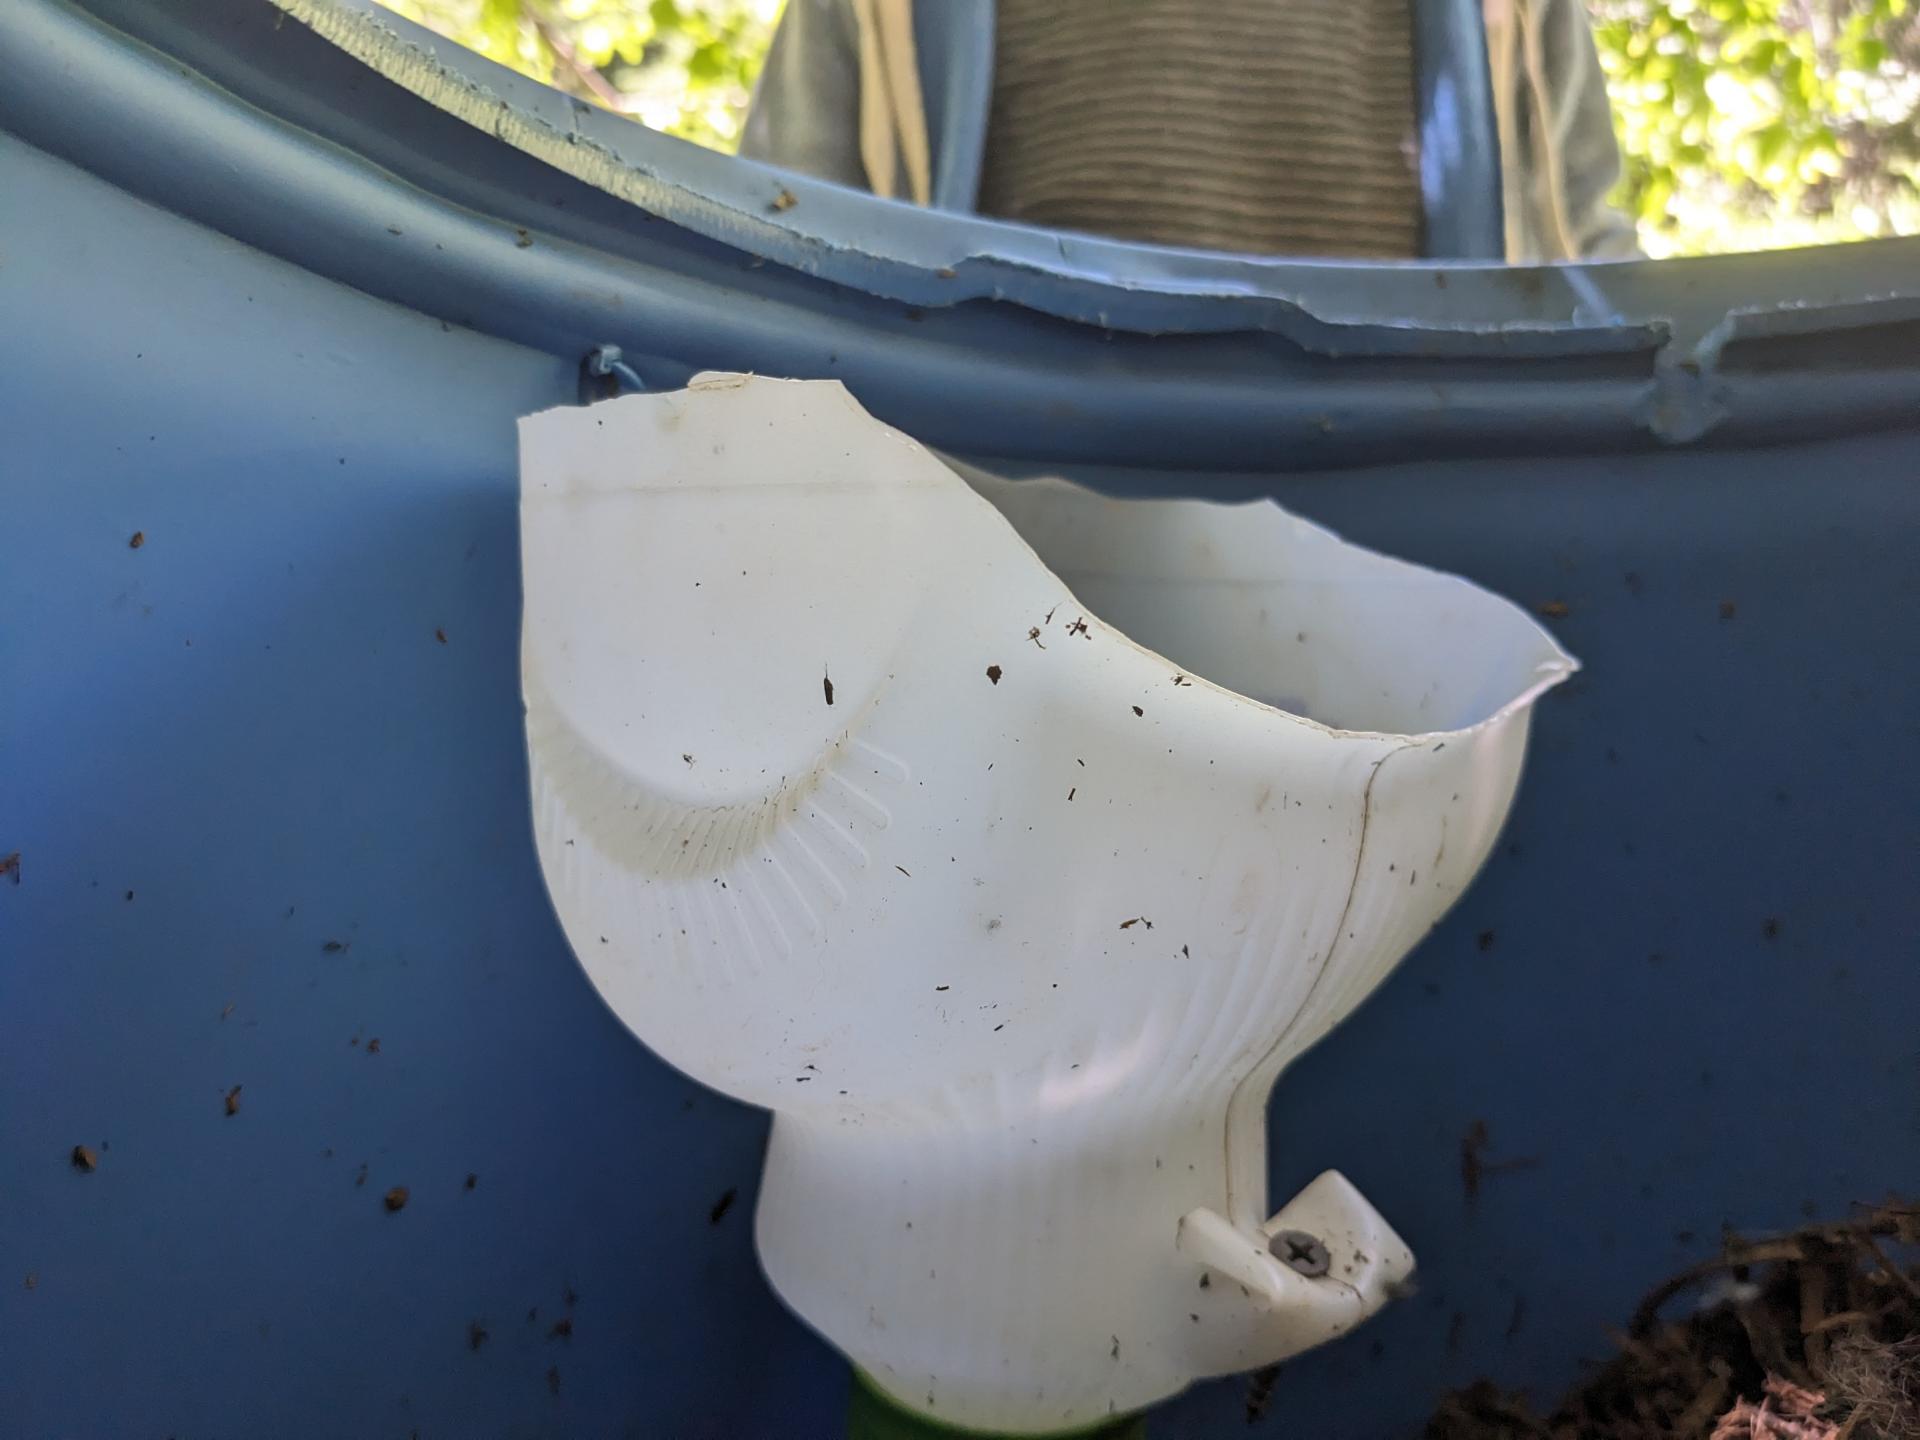
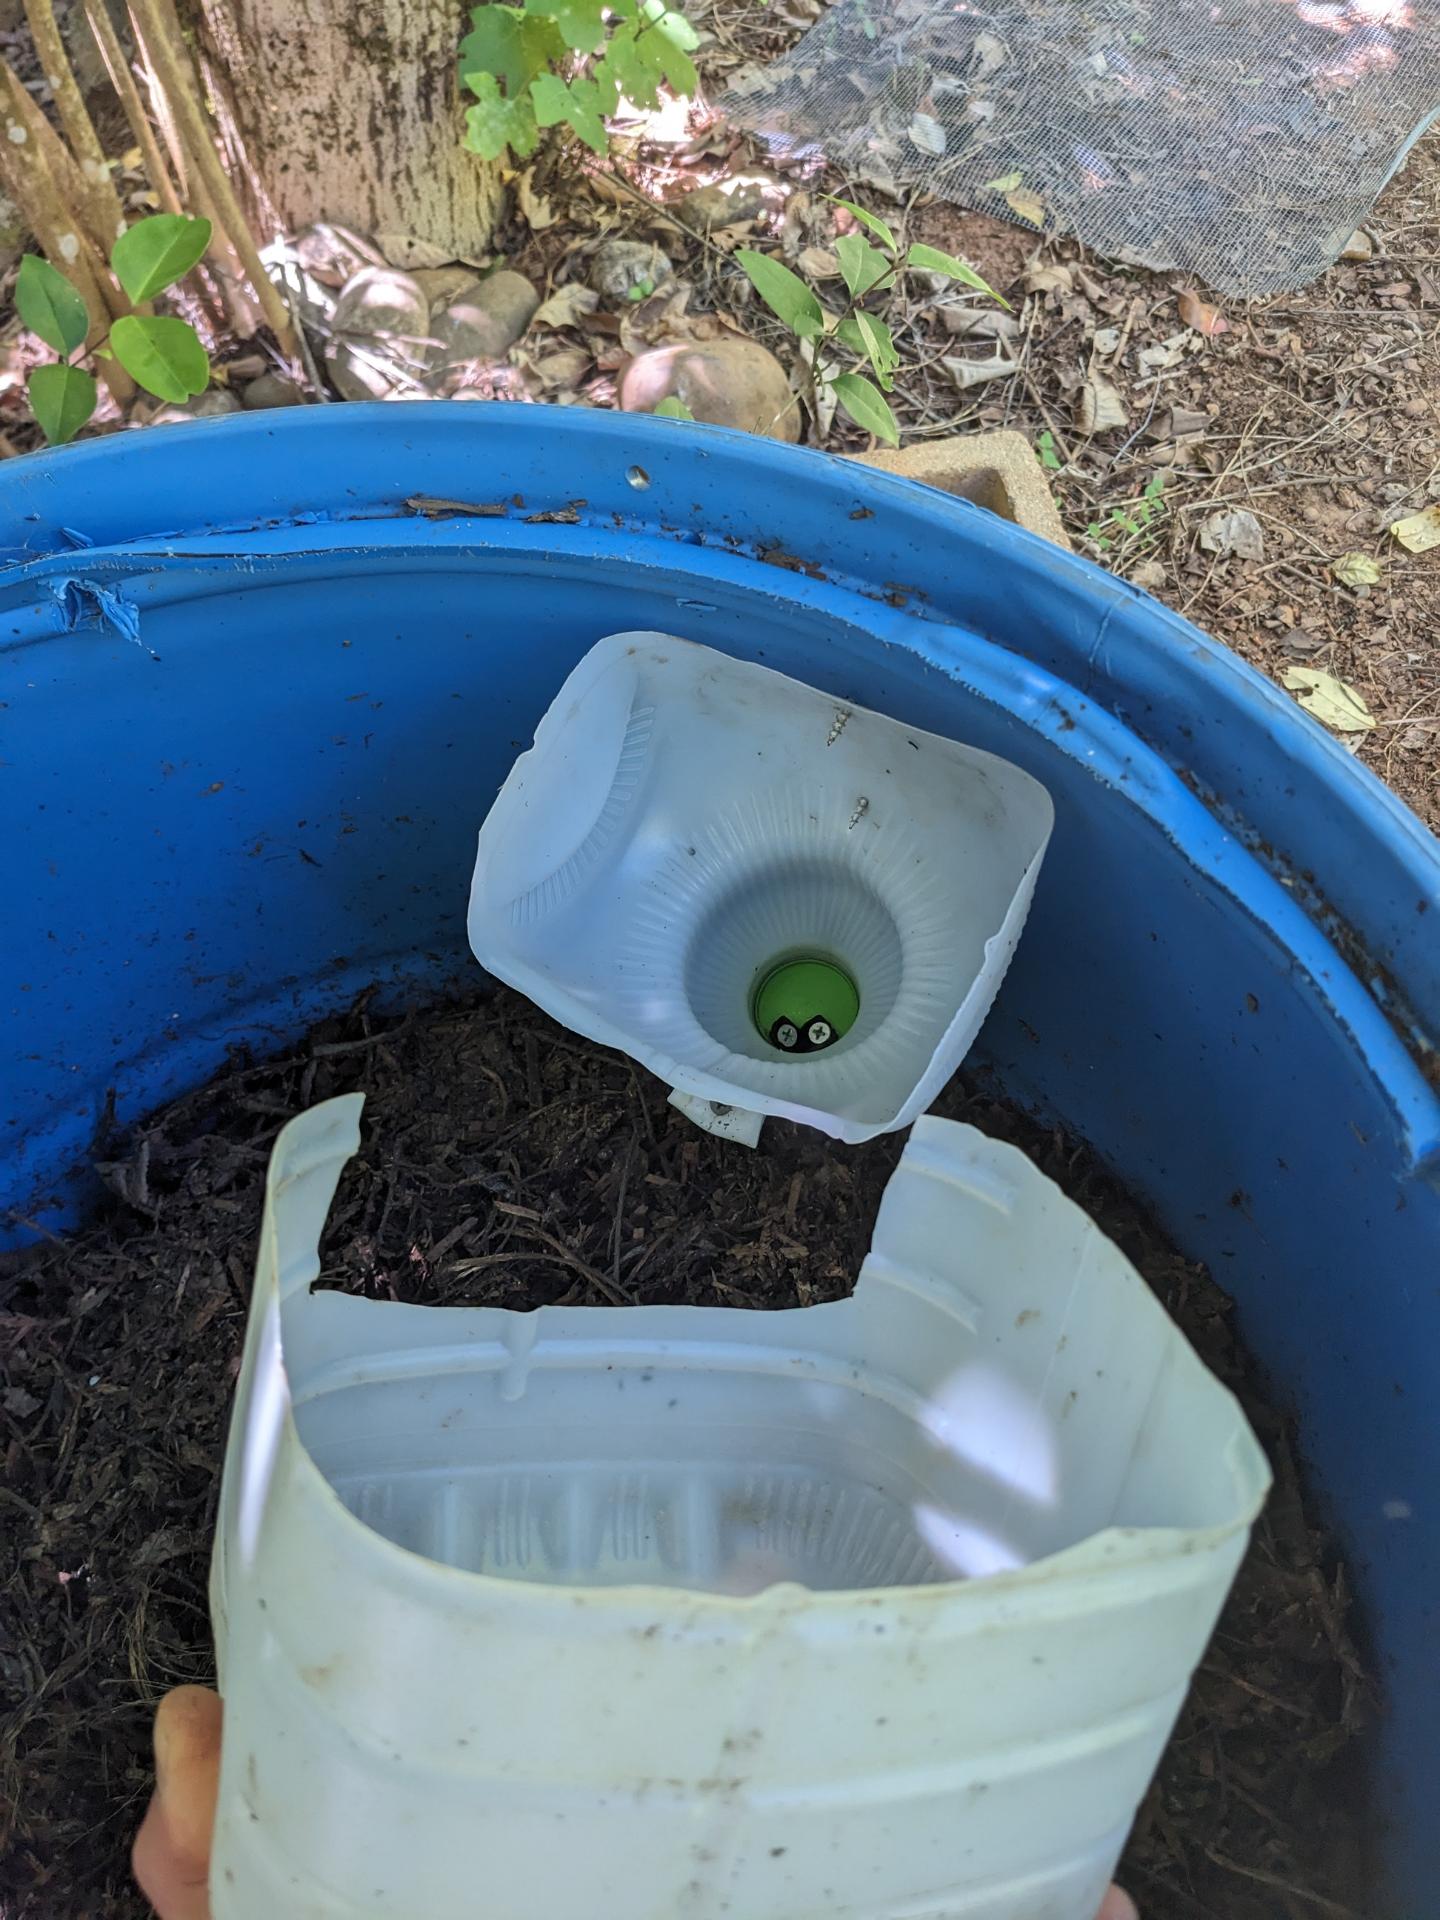
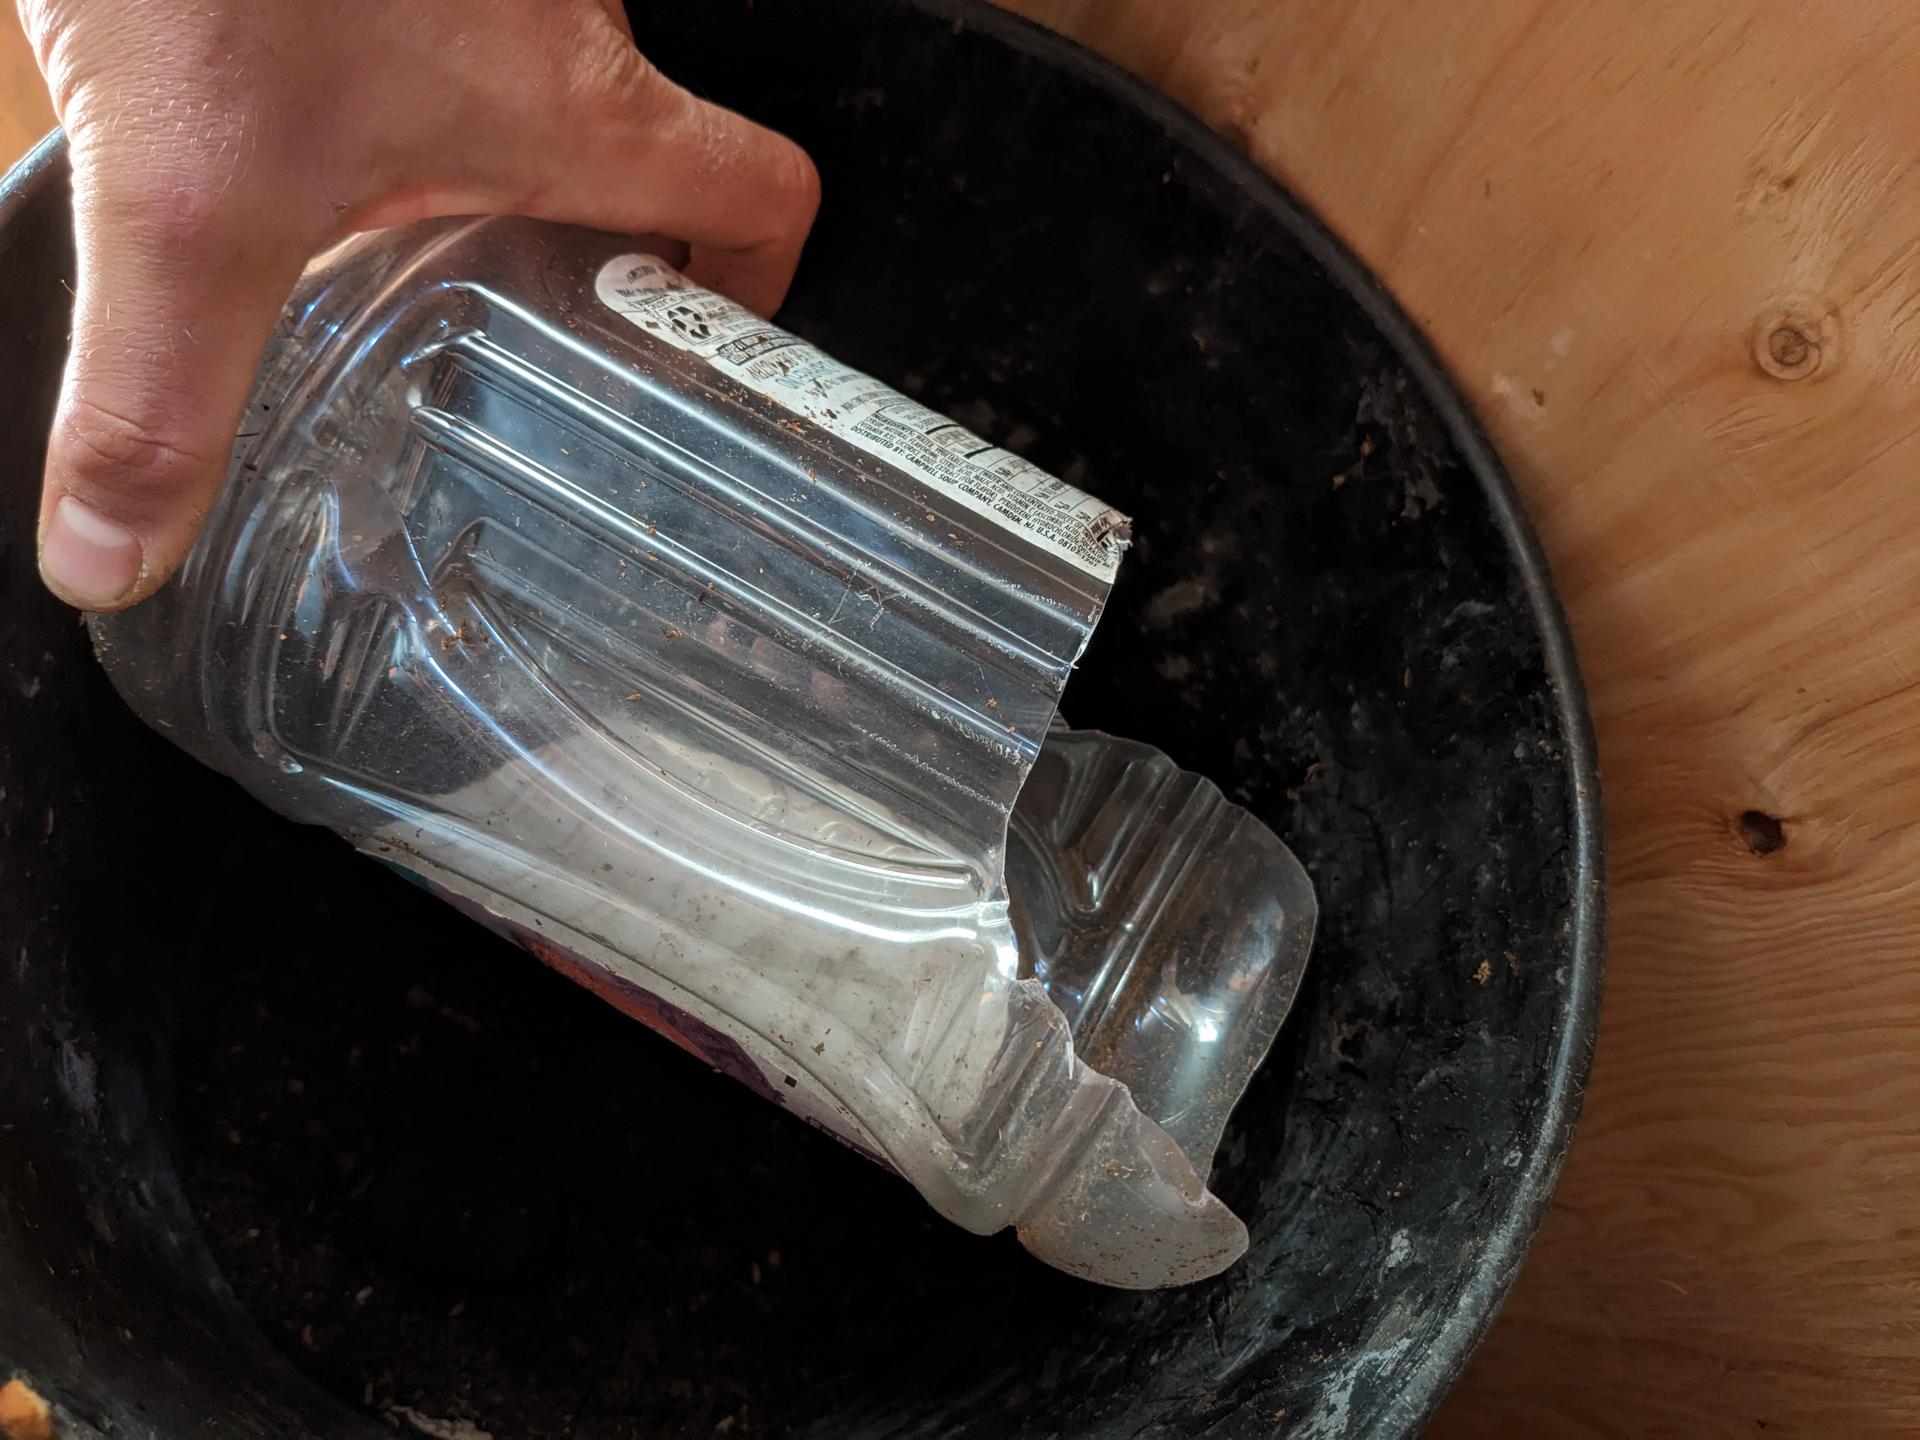
David and Pearl's design calls for a funnel + rubber stopper as a urine diverter. I hacked together an alternative design using old plastic jugs. Cut a milk/vinegar/oil jug to the desired shape. Drill a hole in the lid of the jug the same diameter as your tubing. Cut the last 1/2" of the tubing open lengthwise, push it through the hole in the lid, and screw the two flaps of the tubing down to the lid. It's not perfectly watertight, but a little moisture is good for the compost. If your milk jug has a handle, cut the handle long, bend it over, and screw it down to itself.
Keeping the urine diverter clean
Instead of using a stainless steel sink drain screen to keep the diverter from clogging with misplaced cover material, I wrapped the entire urine diverter with insect screen. This way, when cover material accidentally falls onto the diverter, it mostly bounces off, reducing the need for manual cleaning. However, the screen and urine diverter can still be removed and cleaned, since it's fastened in place by a piece of wire which can hinge up and out of the way.
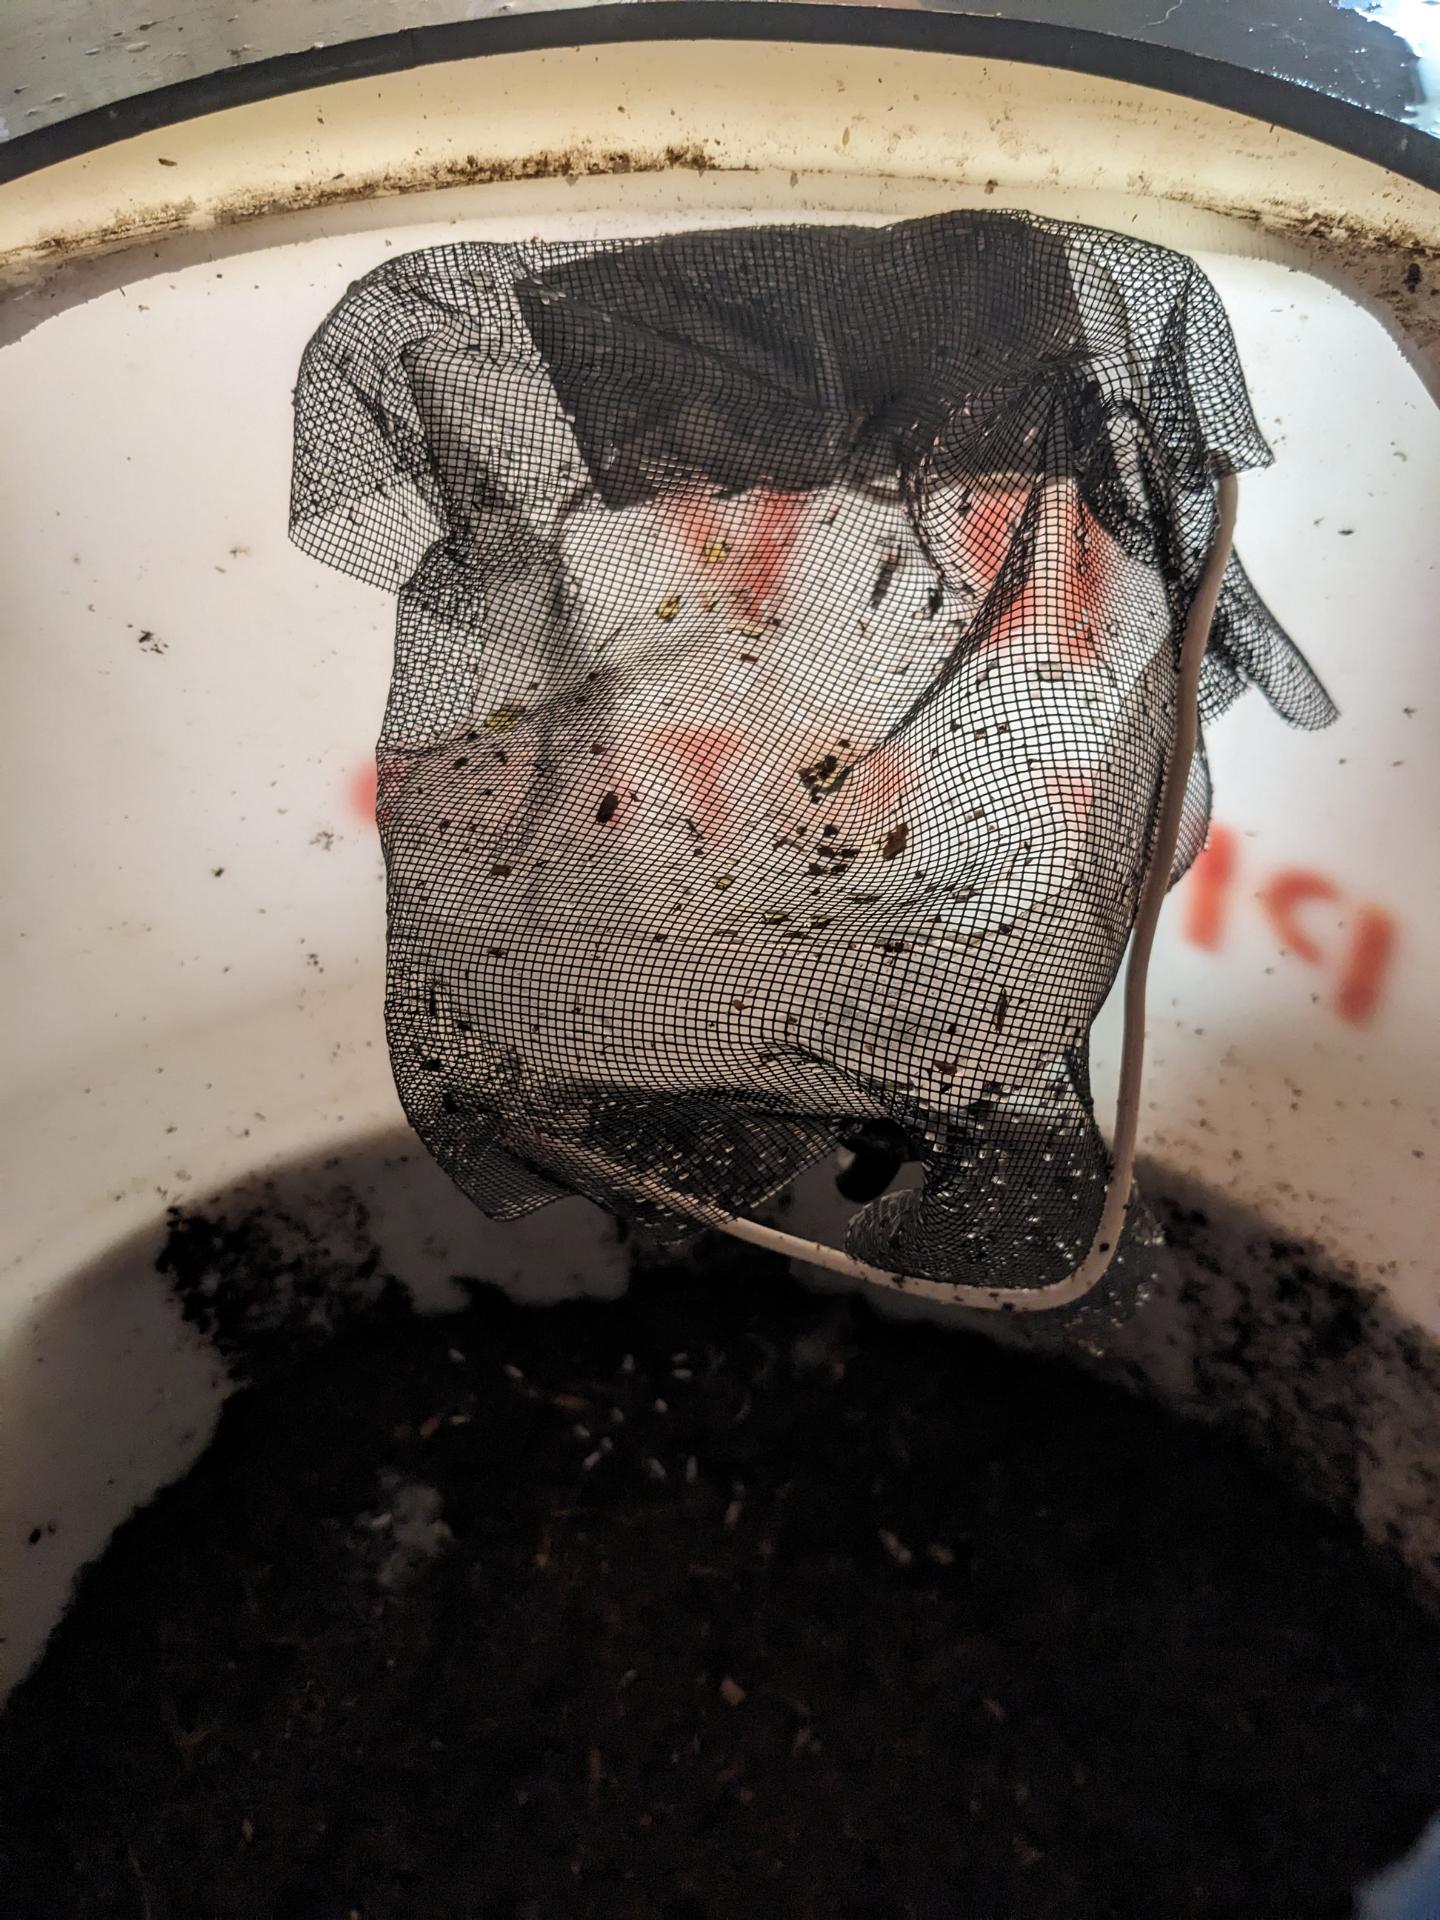
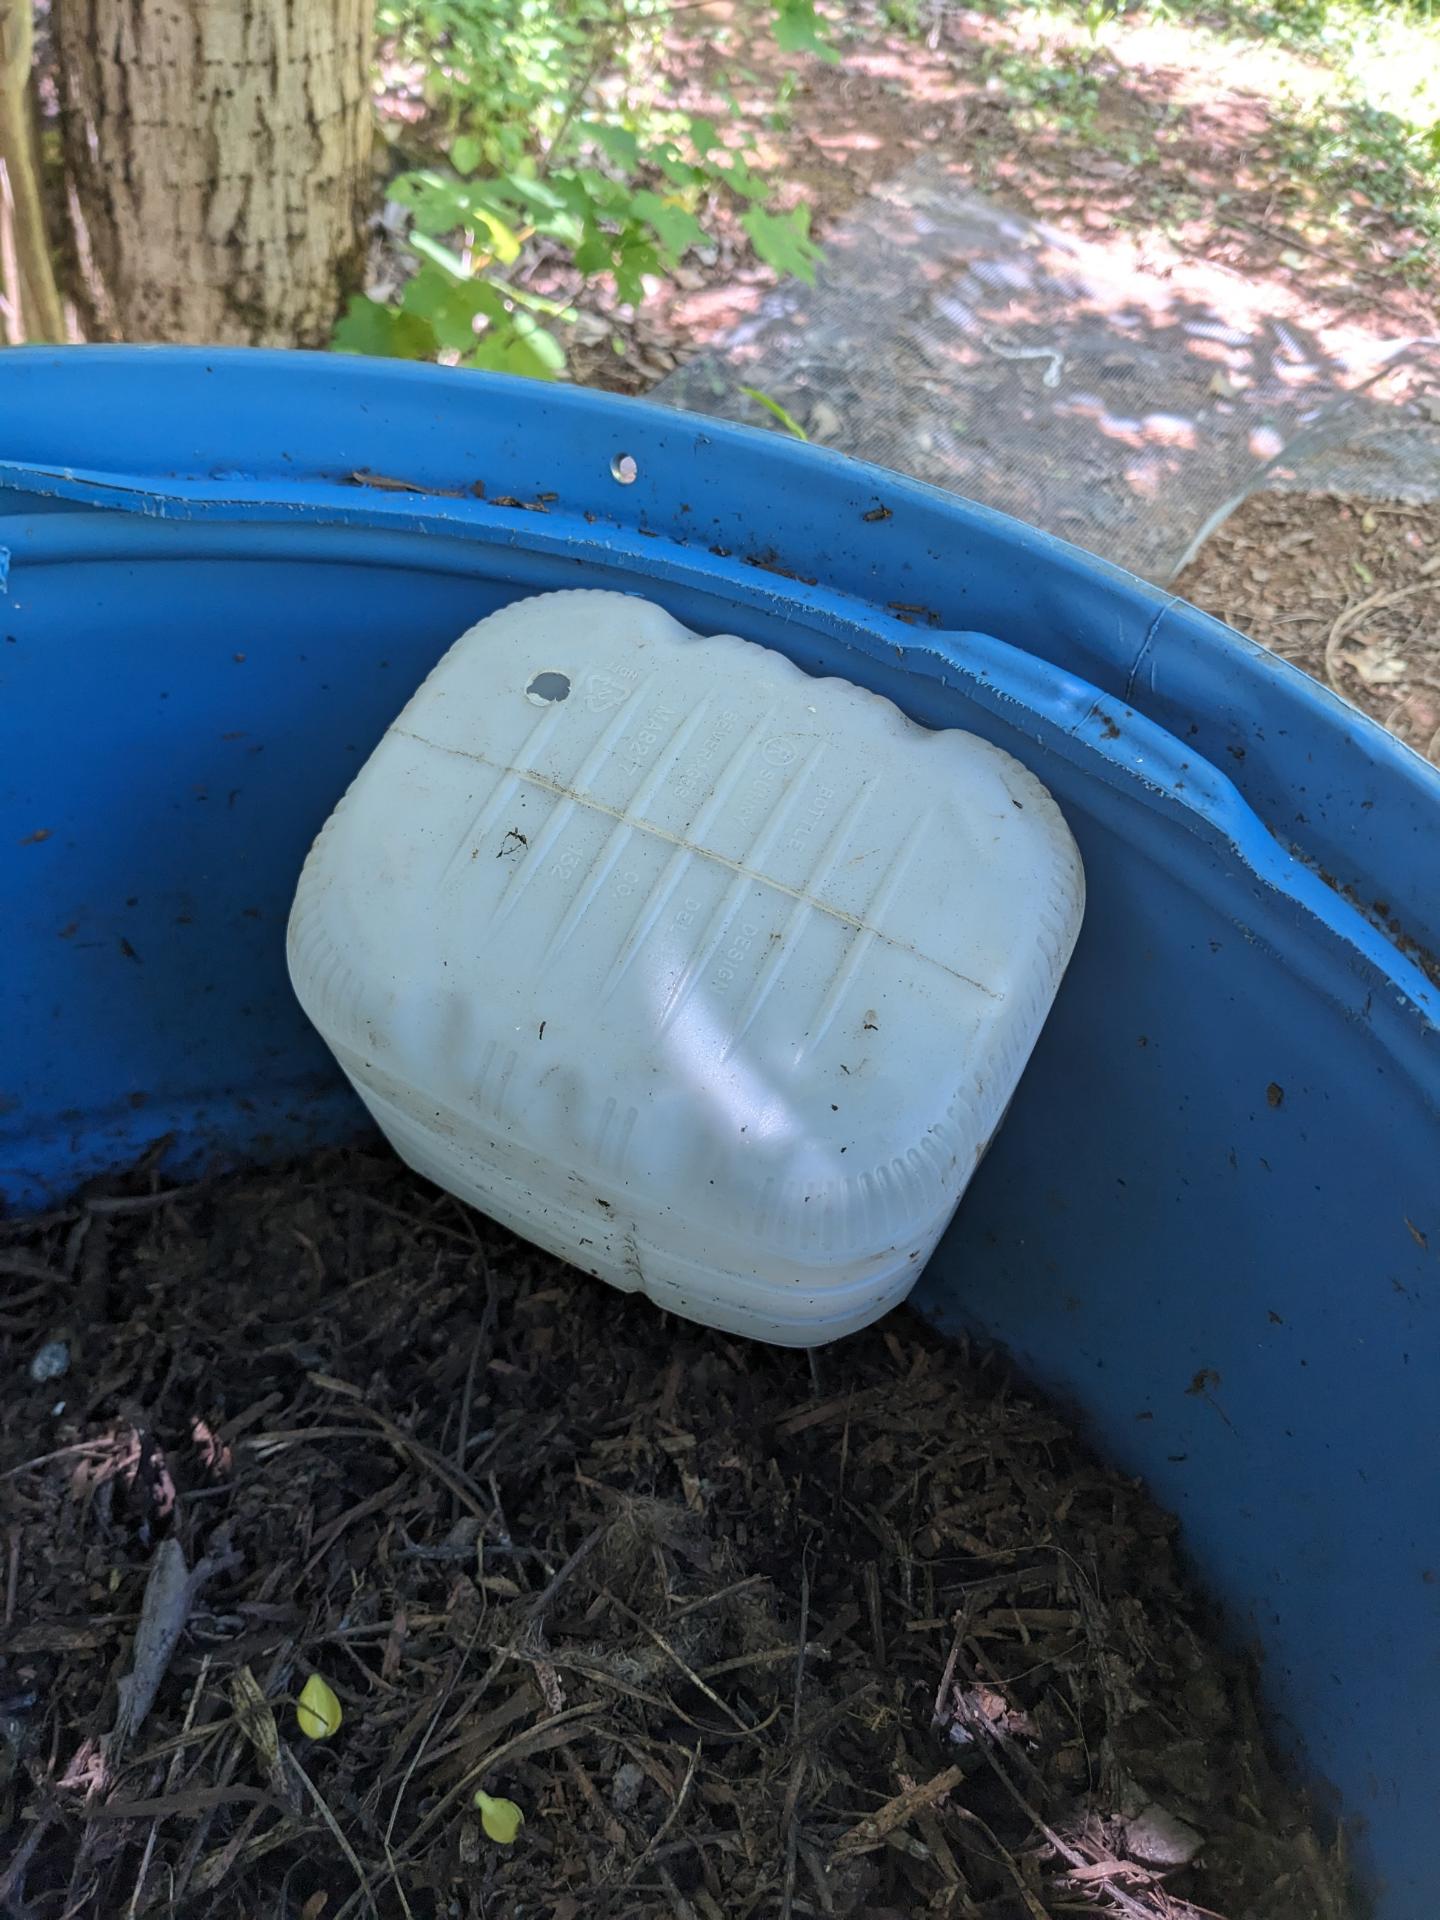
An alternative method for keep the urine diverter clean while the barrel is aging is to turn the bottom of the milk jug into a cover which fits snugly over the urine diverter. That way, as you stir the aging compost, no flying debris will fall in.
Urine collection
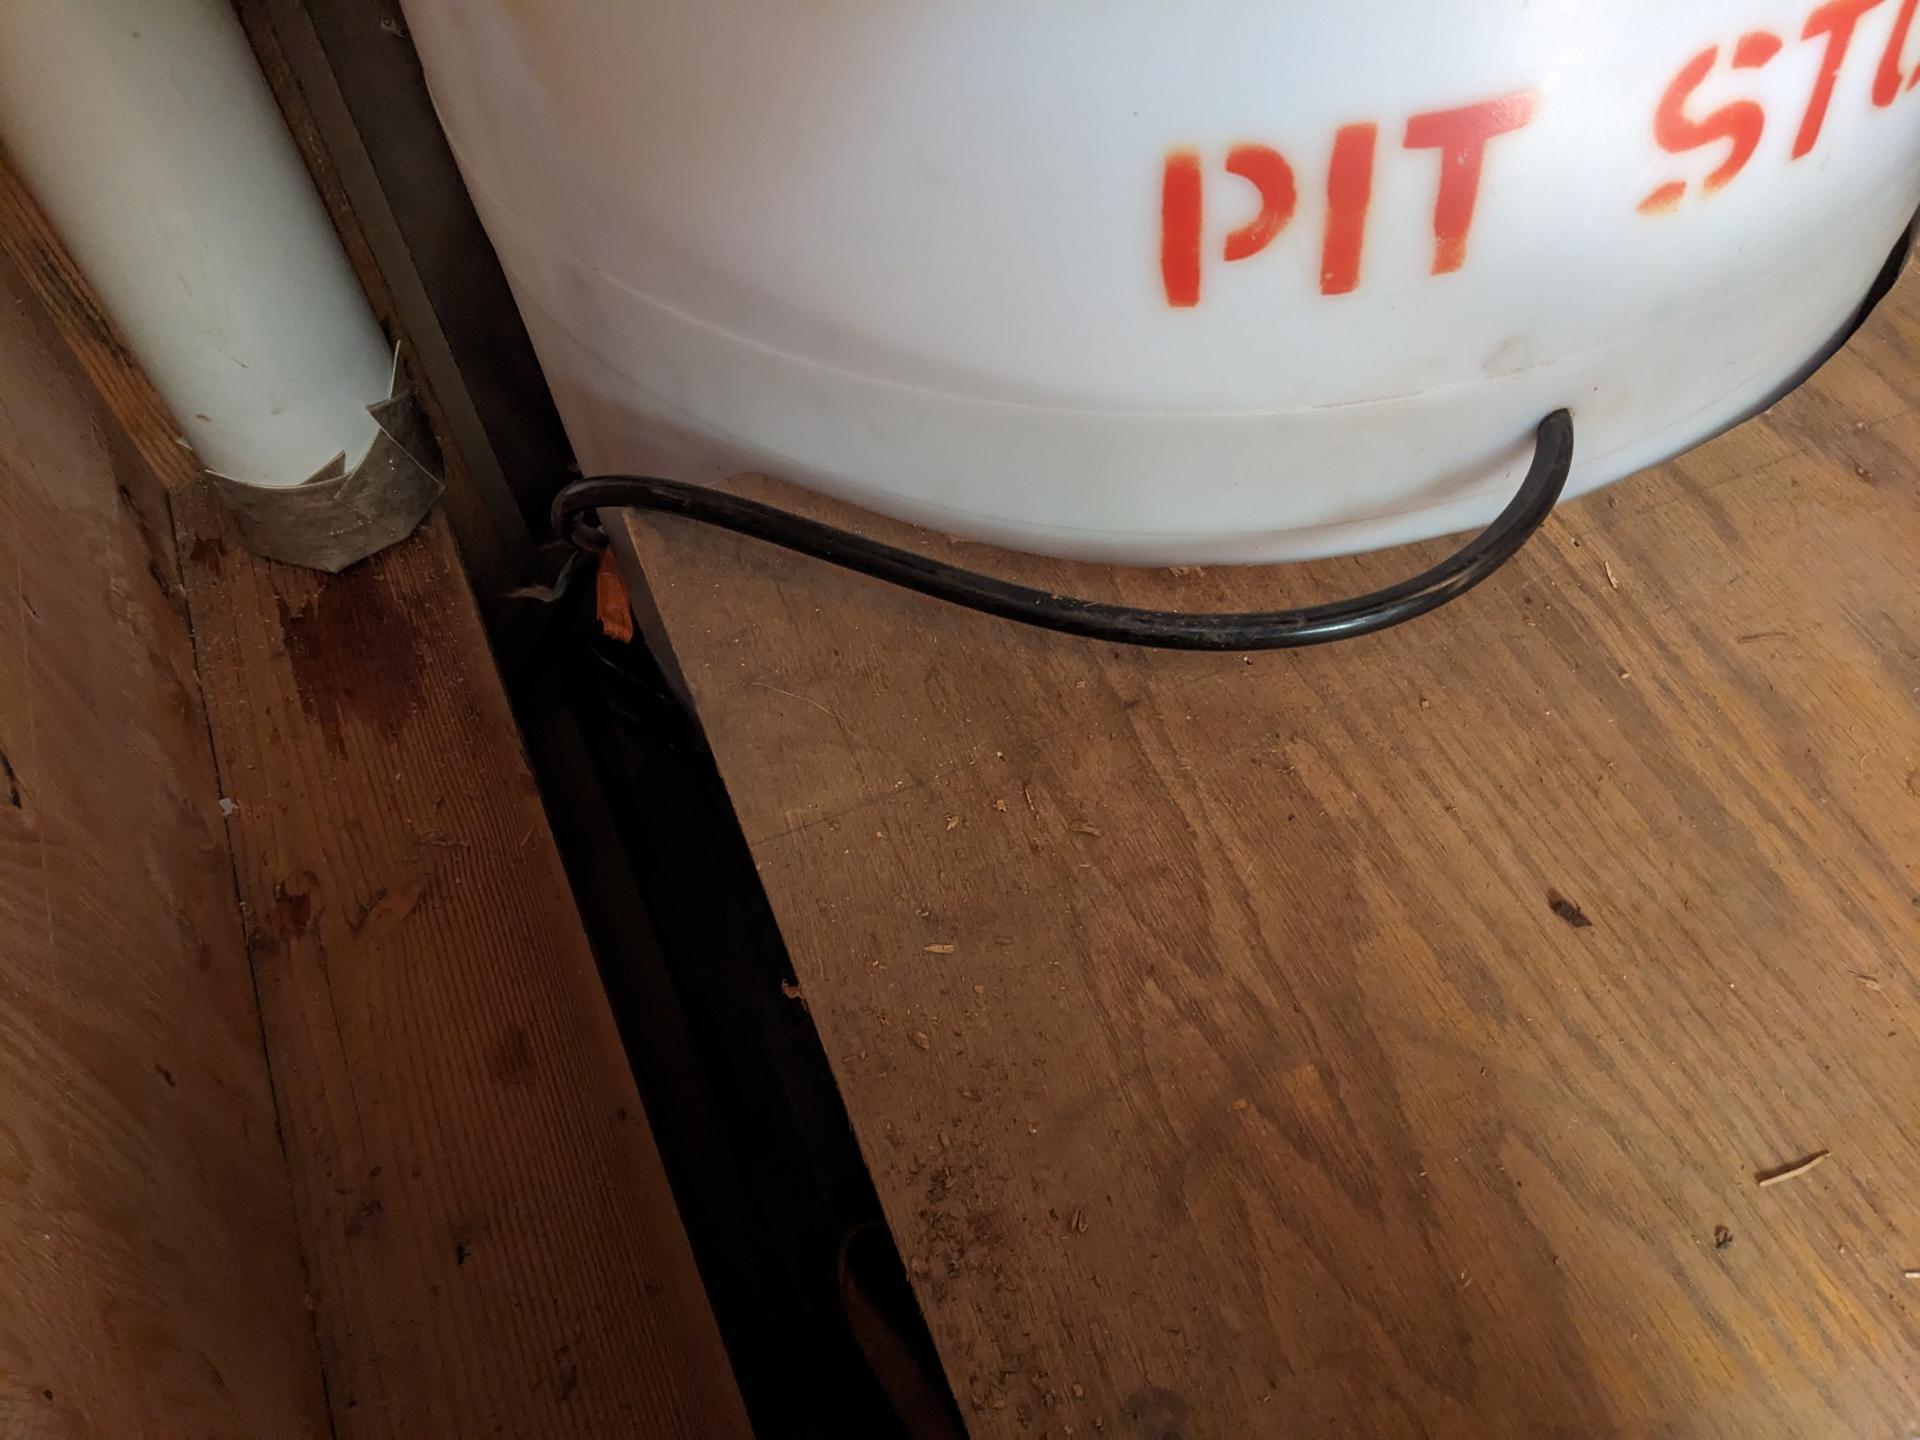
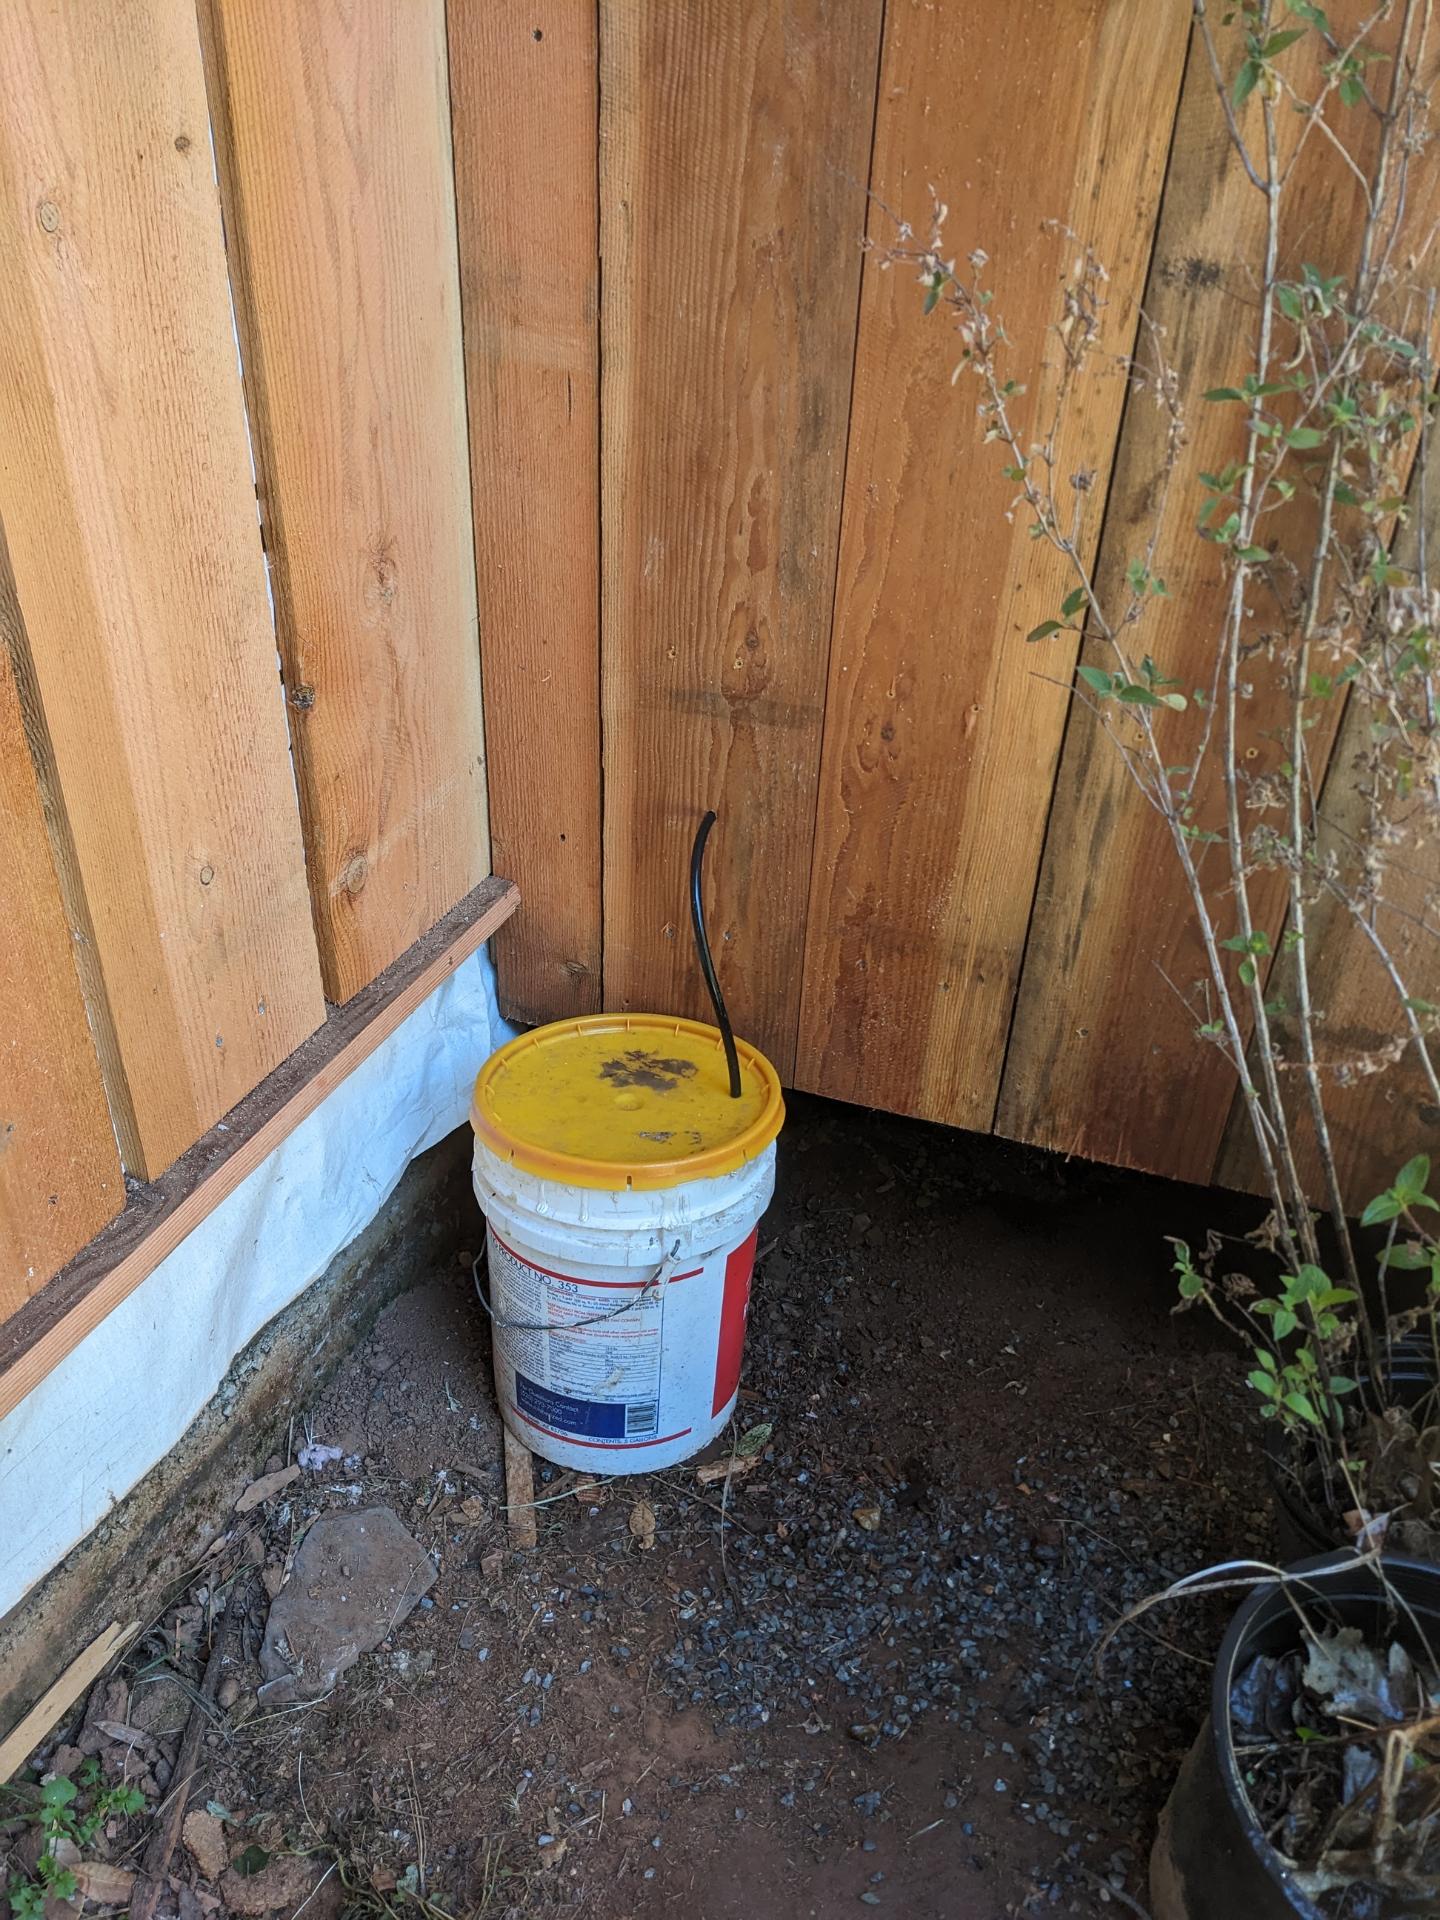
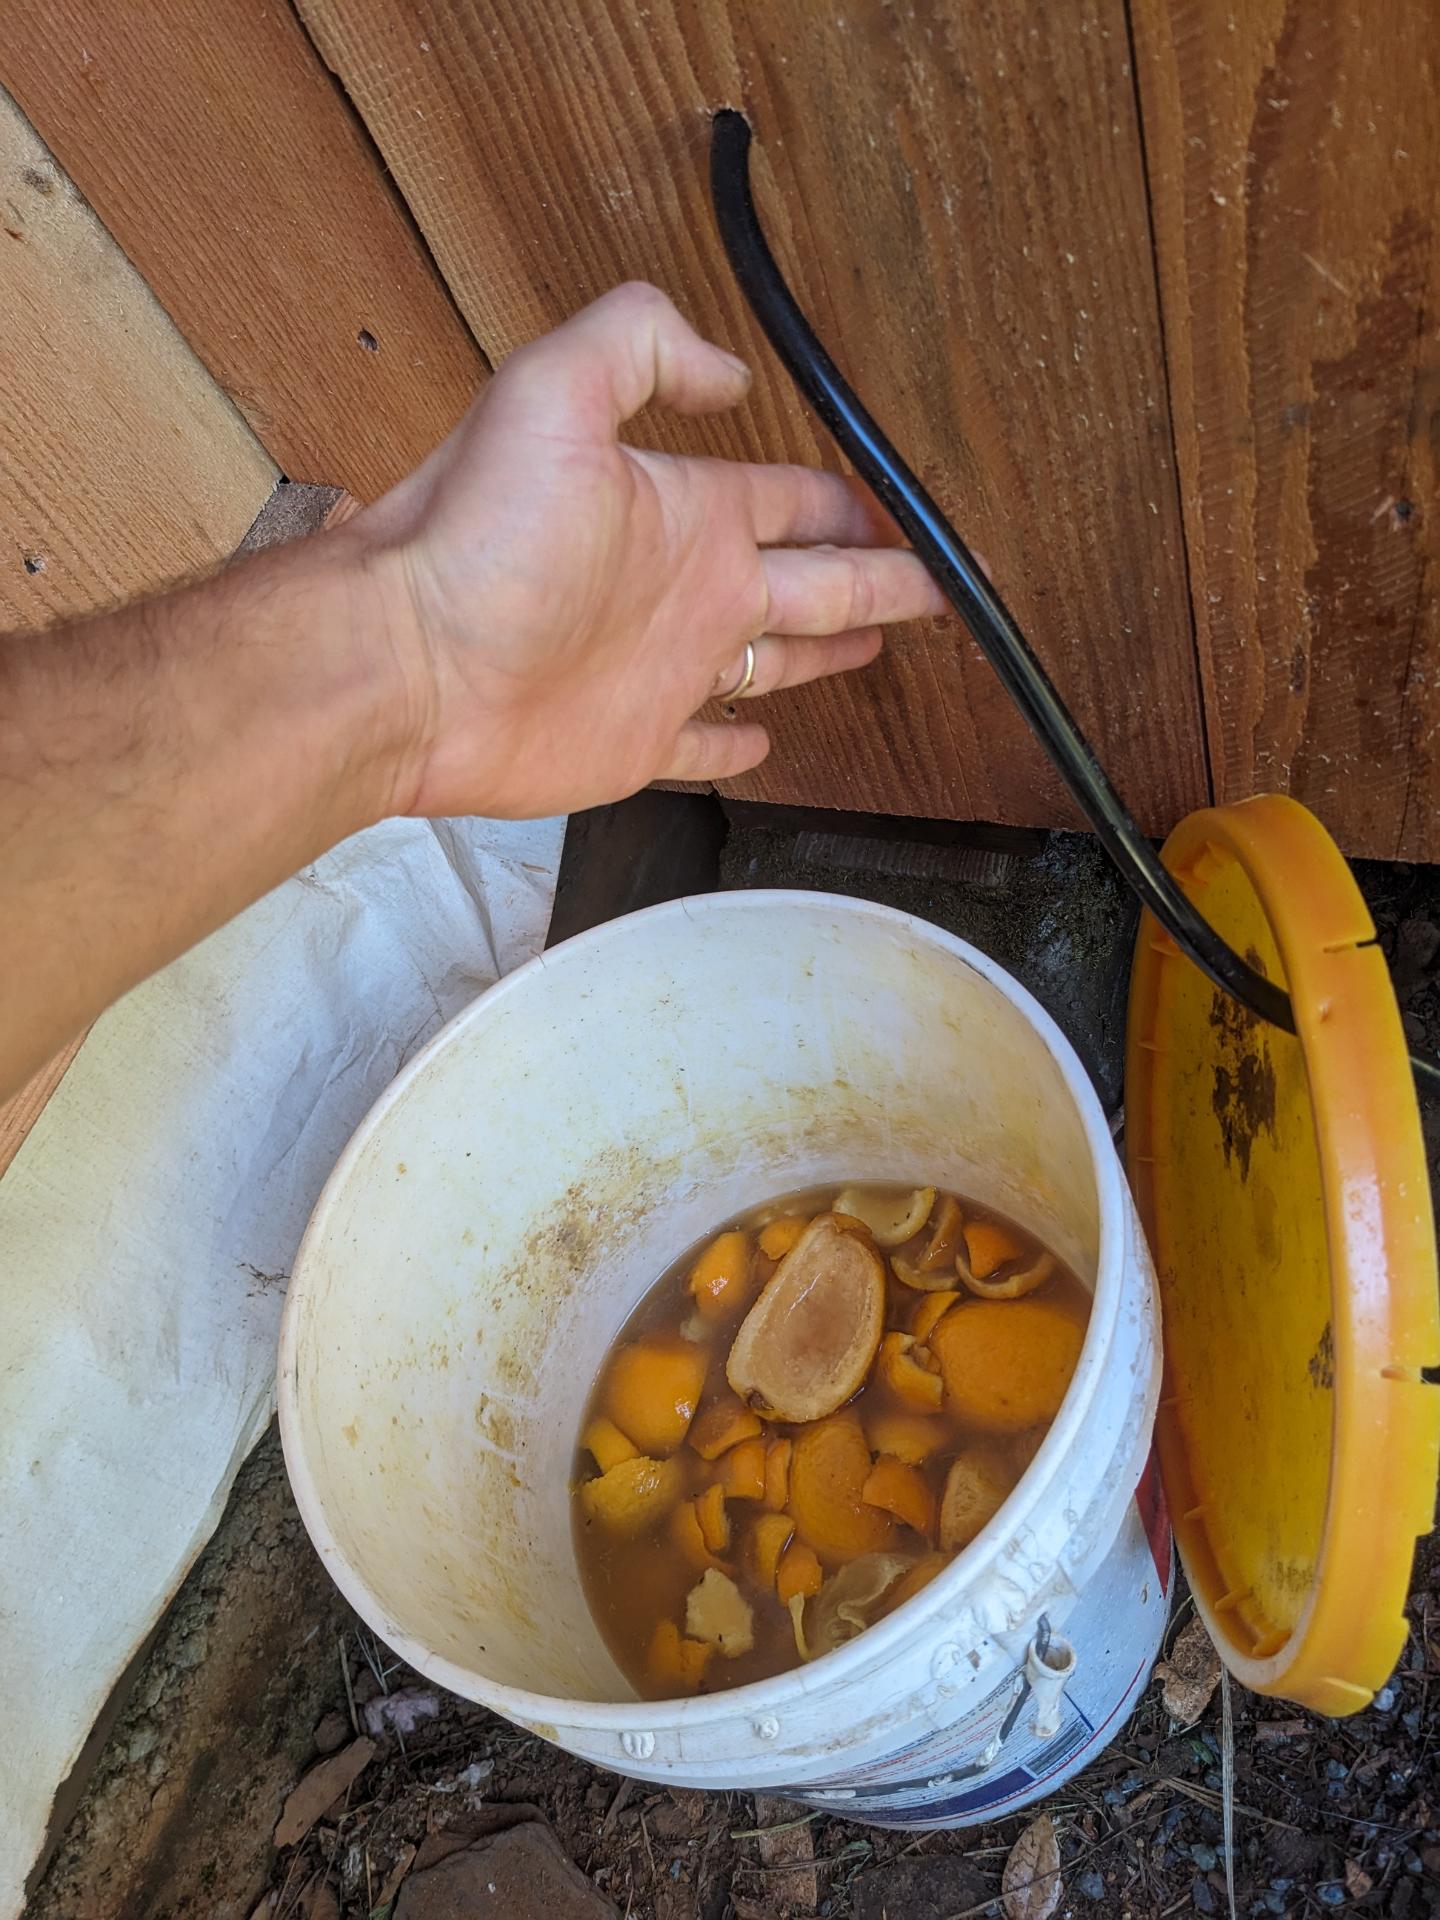
Instead of installing an underground leaching chamber, we opted to save the urine for our garden! Just run a line (we used rabbit watering system hose) from the barrel through a hole in the wall and into the lid of a 5-gallon bucket. We also added orange peels into the bucket to cut the smell.
More fun hacks
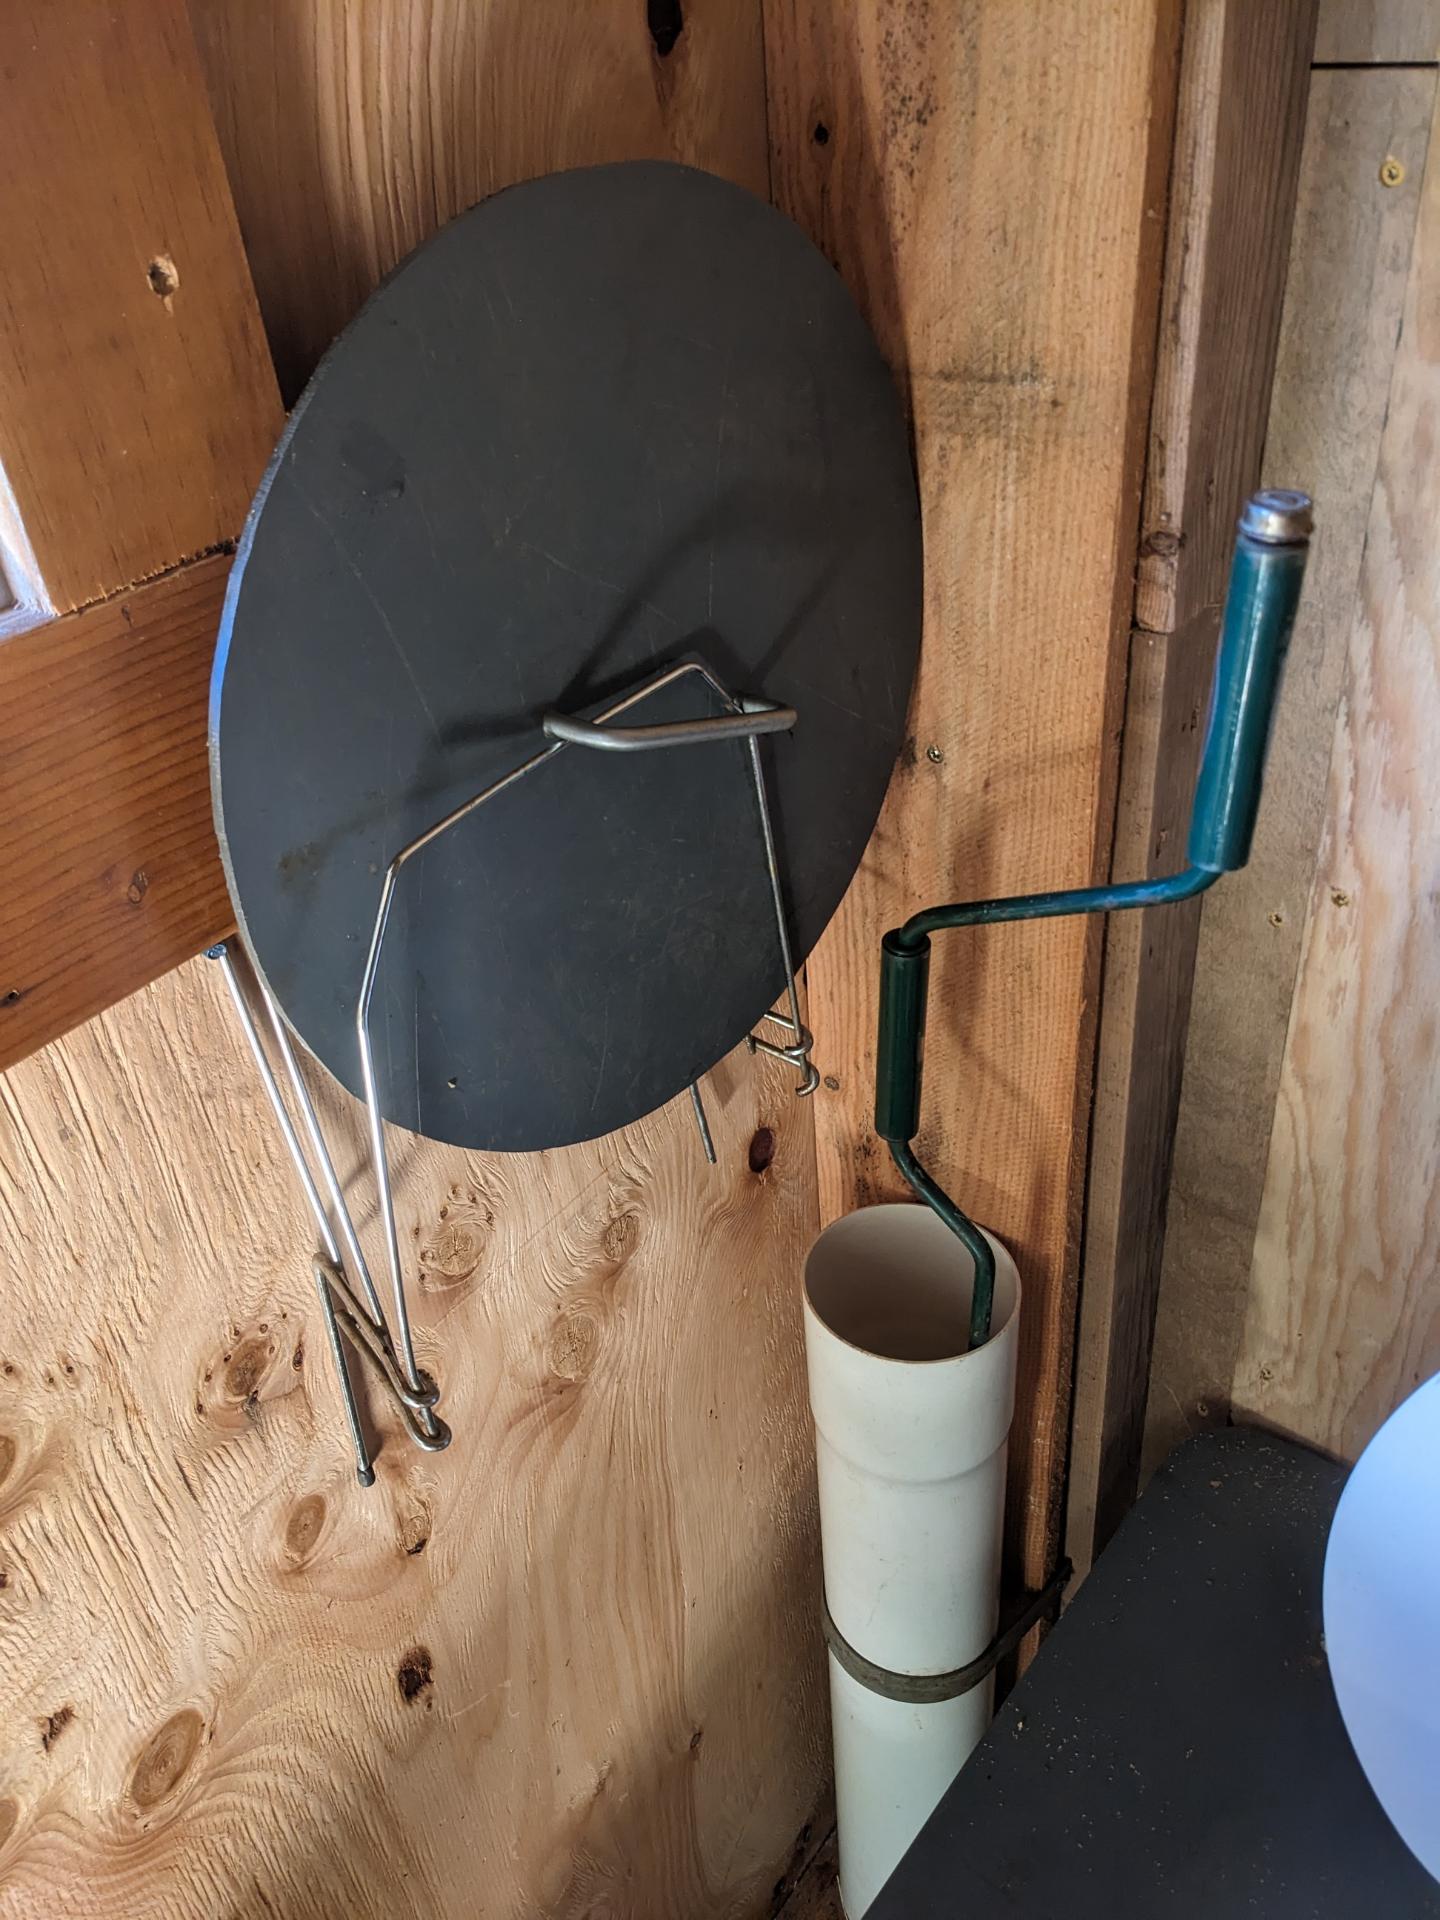
- An old dish rack cut down and repurposed as a hanger for the insect plate. Nice one, Dad!
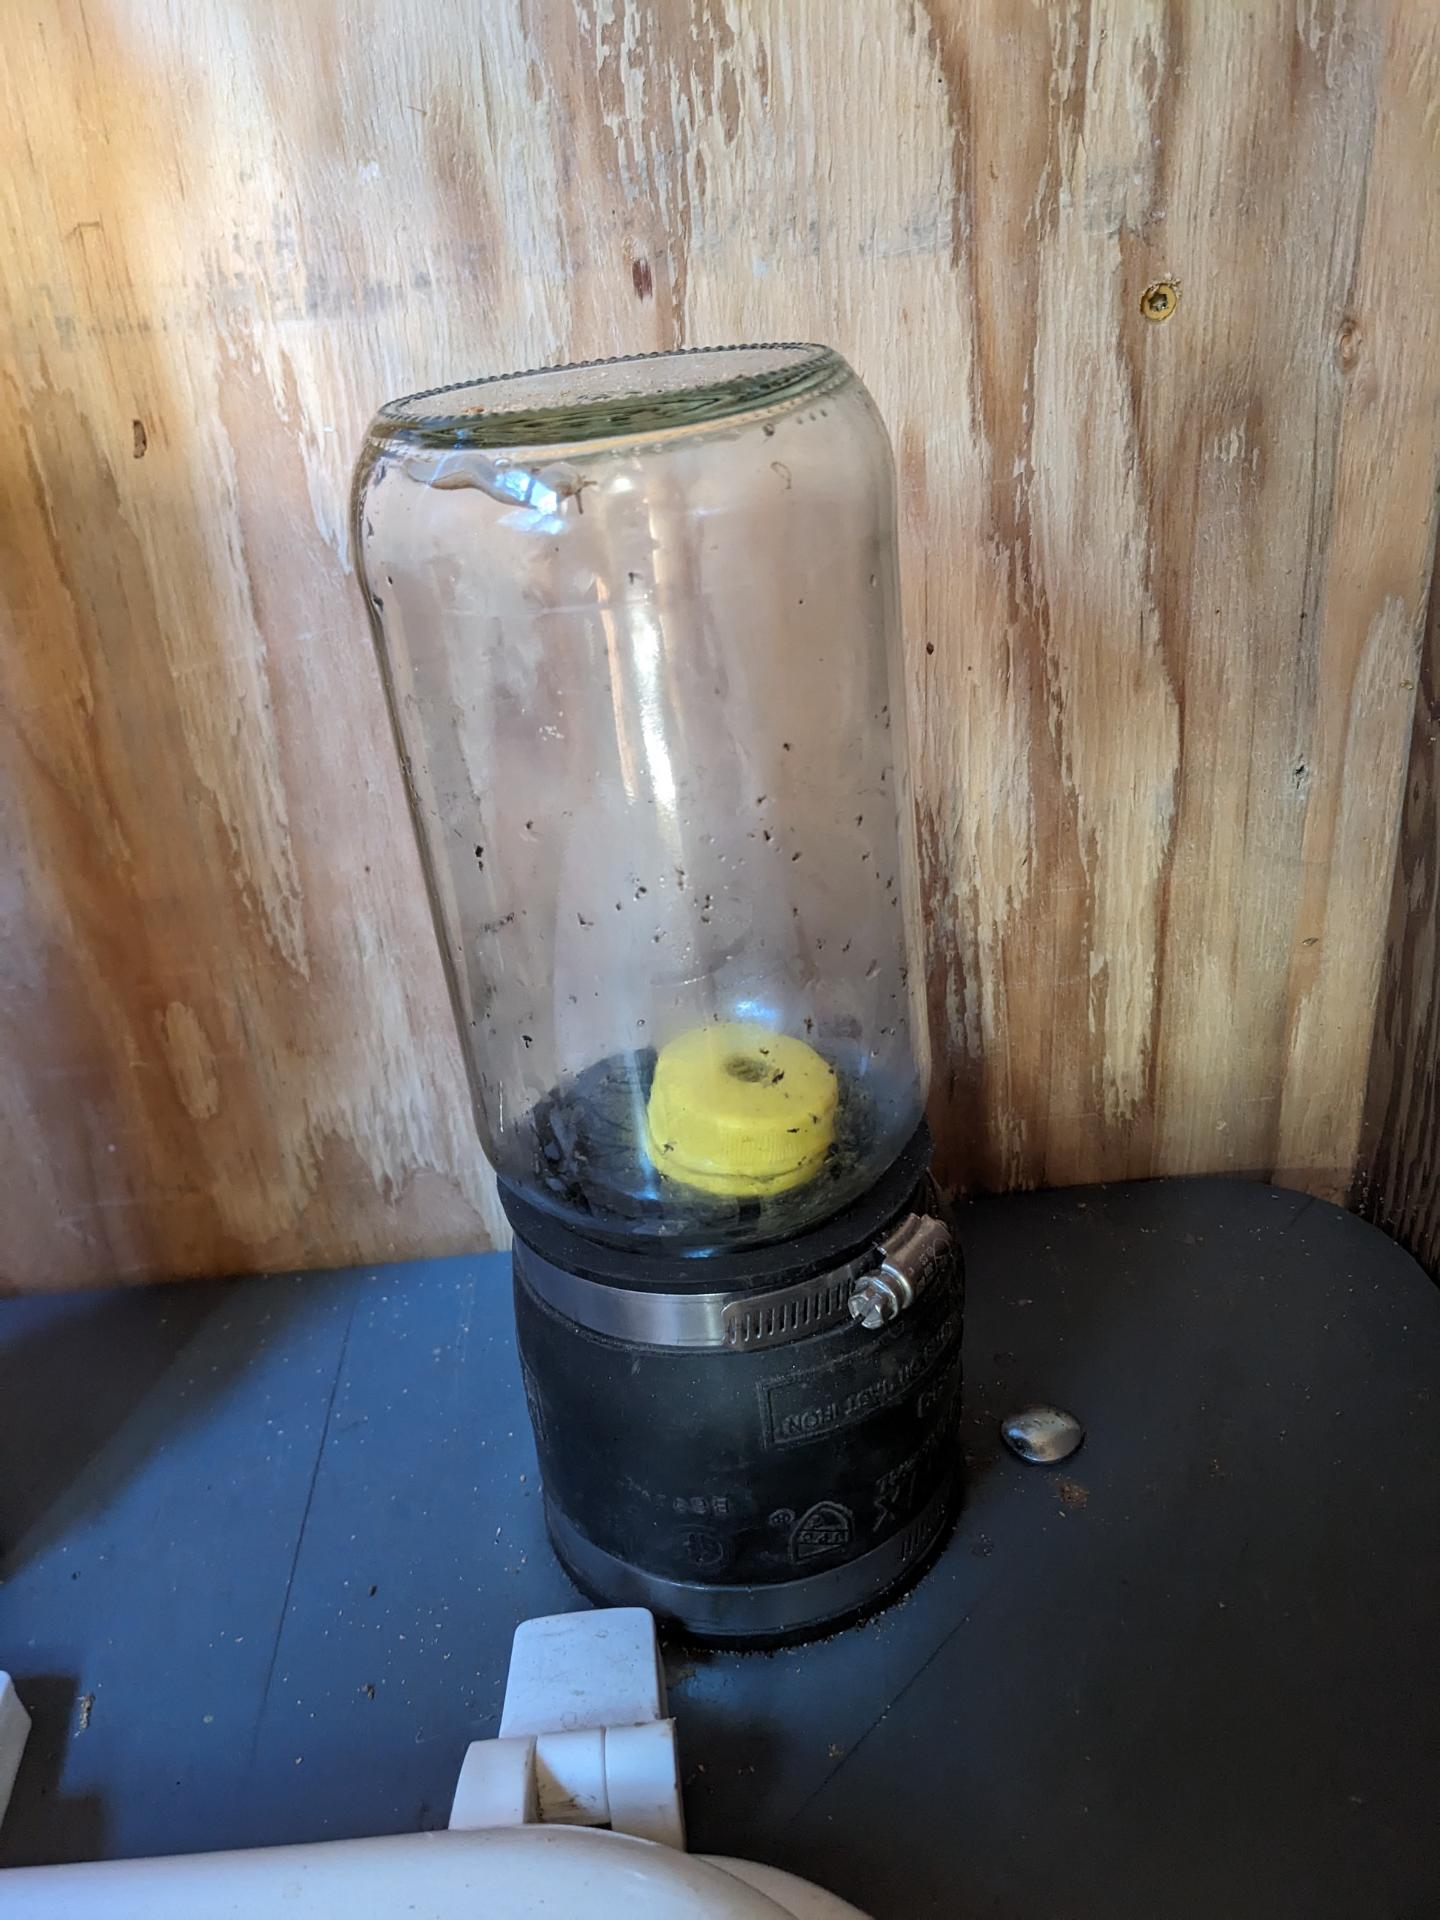
- Another way to install the mason jar insect trap is to directly clamp a Fernco fitting onto the mason jar (the original design involves resting the mason jar in a sanitary tee, which I was concerned would get knocked over if anyone went wild on the John)
- A plastic jug scoop for sawdust cover material.

Safe, Happy Compost
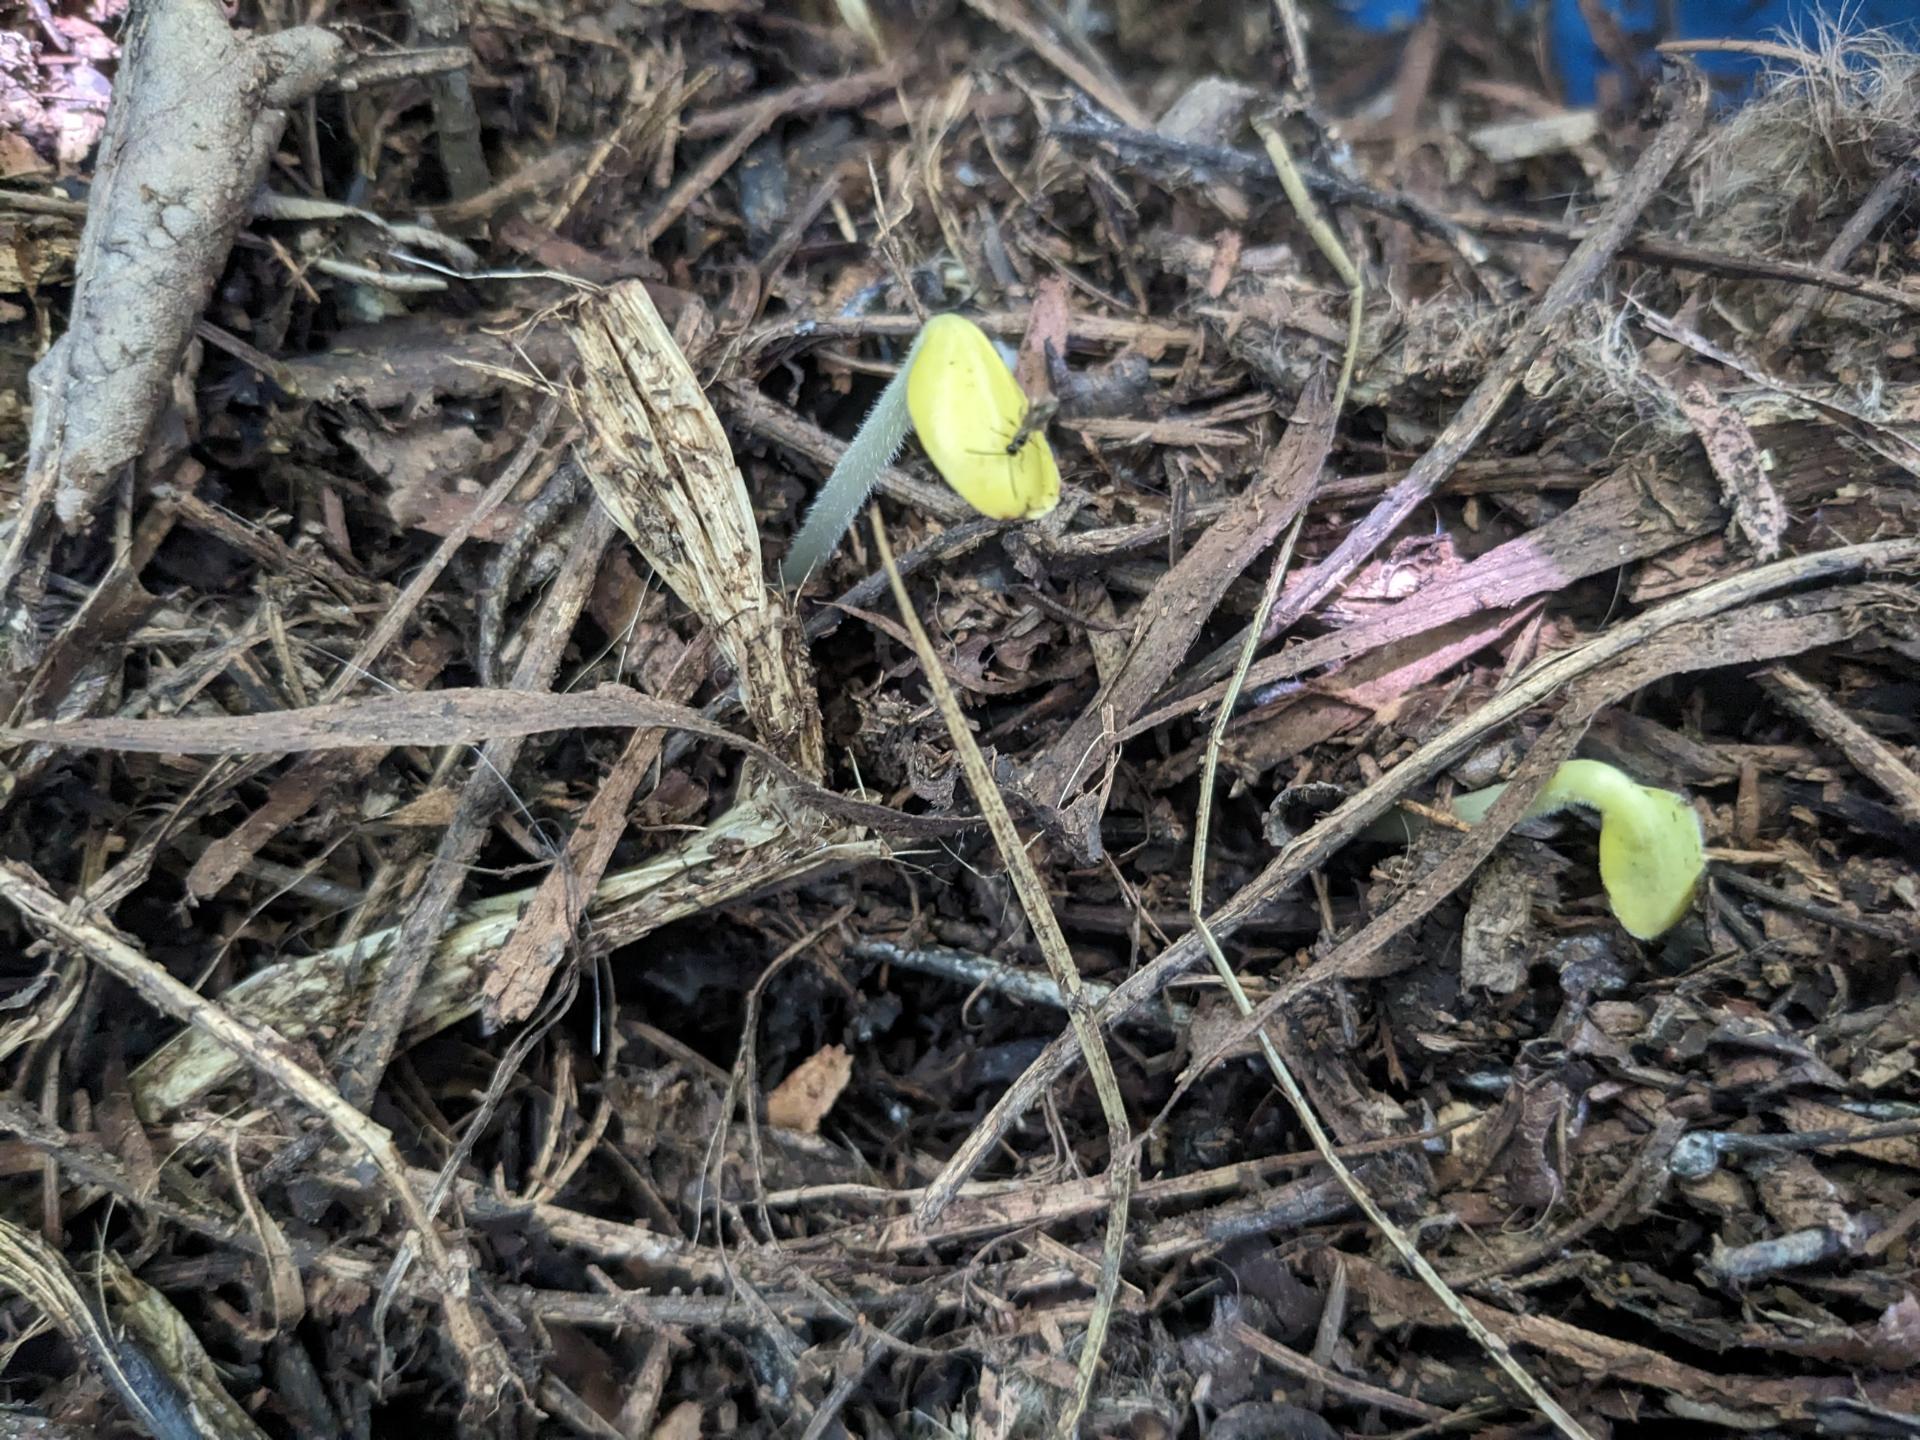
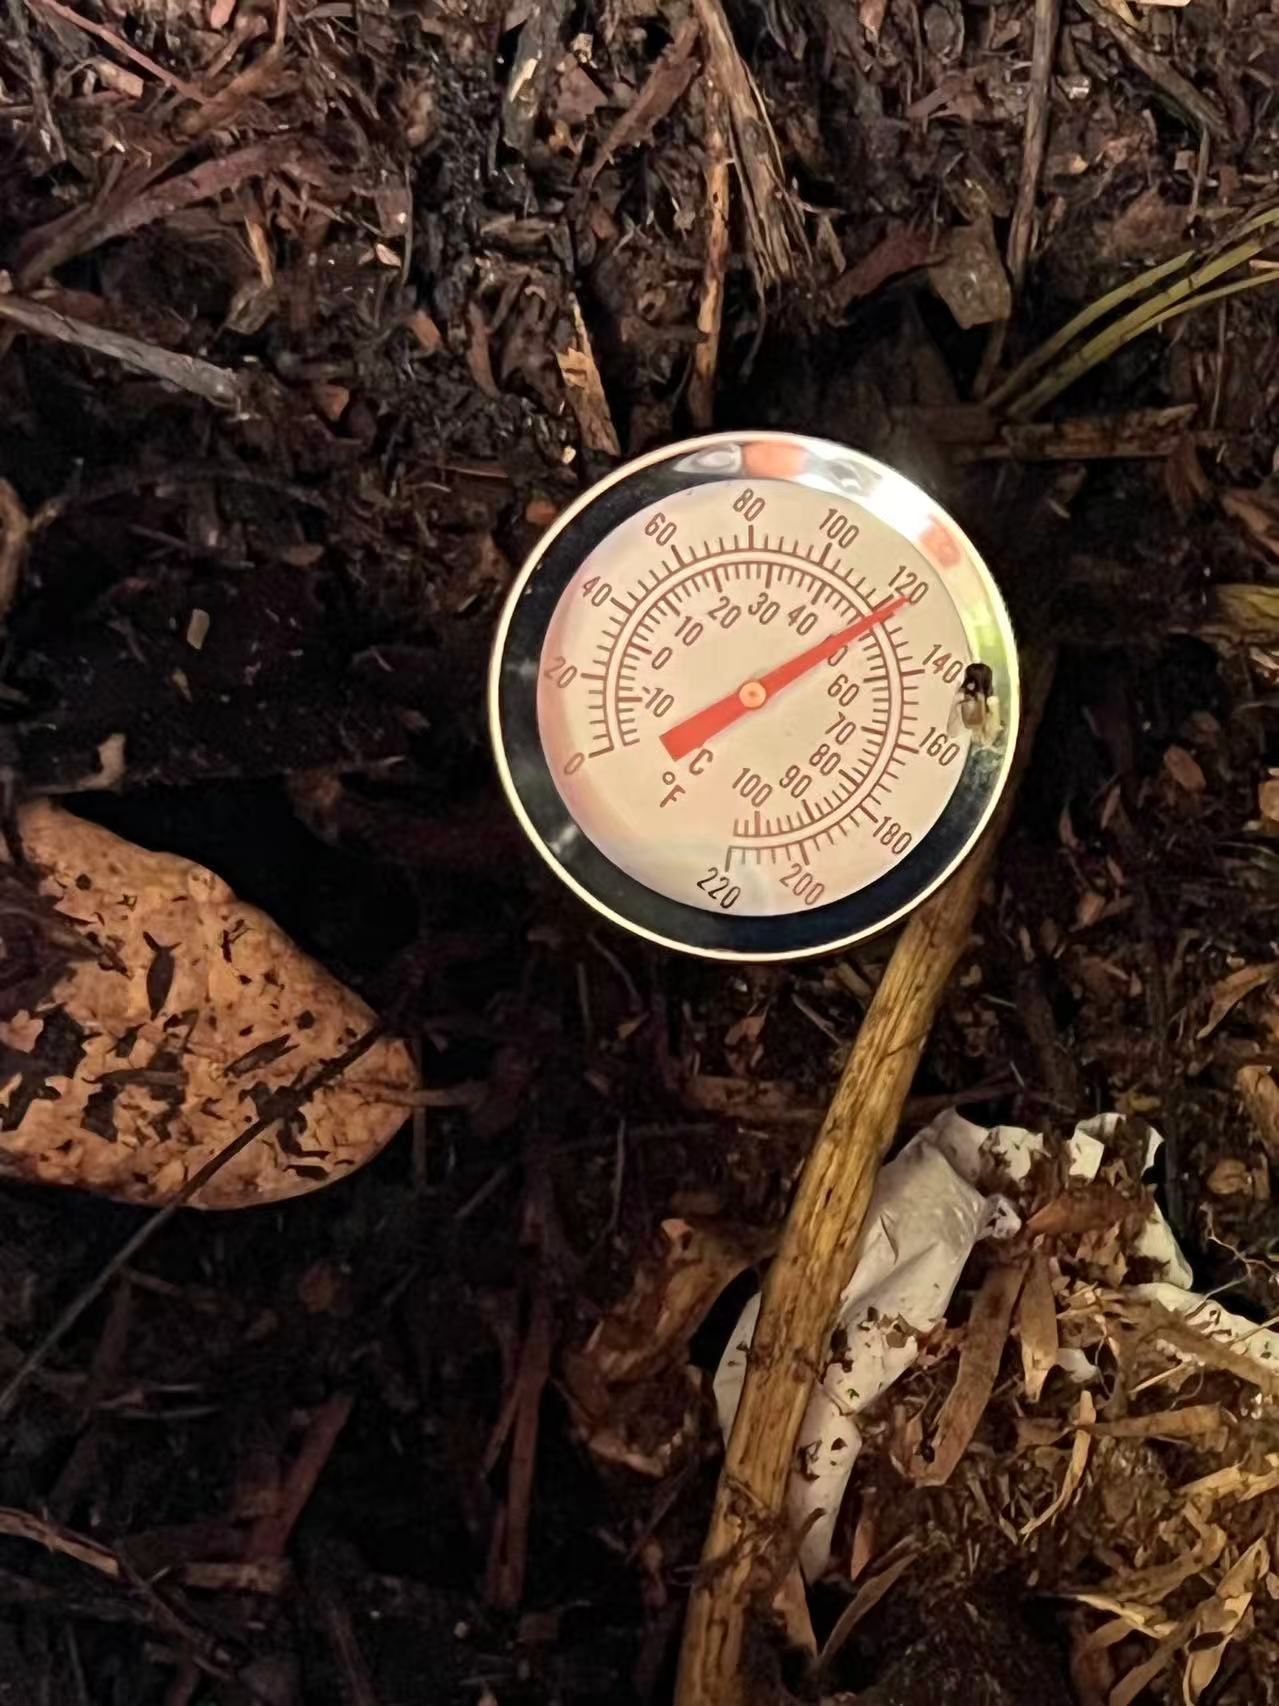
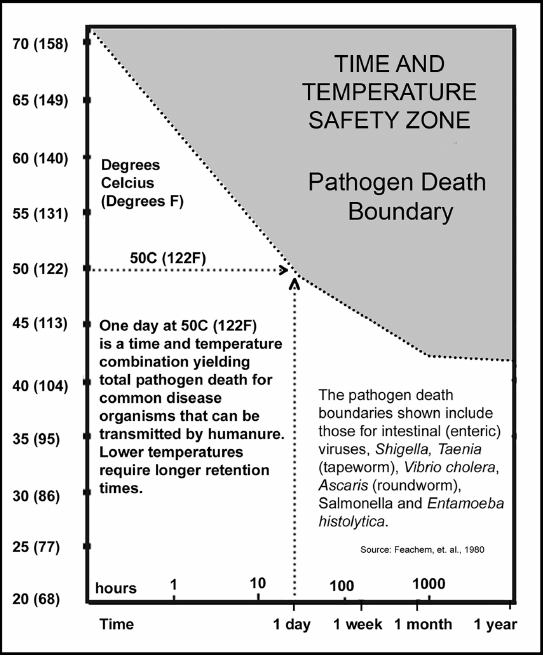
After we filled up the first barrel, happy little sprouts began popping up on top of the compost material, only to be turned under by our compost crank each week. The internal temperature of the compost rose to 122℉ (50℃) and stayed there for a few days, high enough to kill all potential parasites and pathogens, according to the "Time and Temperature Safety Zone" graph from Joseph Jenkins's Humanure Handbook (Version 4), Chapter 13, page 204.
On the next episode of Barrel Compost Toilet...
Bei Bei and I are now preparing to move into our new home in Xizhou Town, Dali City, Yunnan Province, China! Stay tuned for more compost toilet updates!
We are tremendously grateful to all of the folks in Cascabel who welcomed us so warmly! We can't wait until the next time we get together. Thank you!!